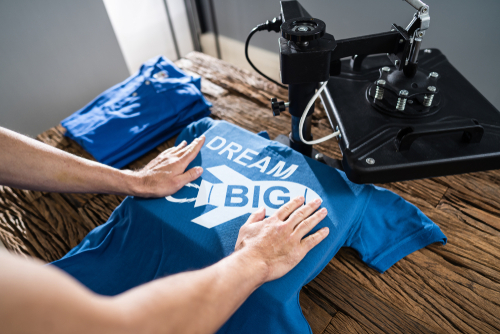
Resources for Teachers: Where to Print Posters for Your Classroom
Posters can be a fun way to liven your classroom with personalized decor. You can incorporate motivational sayings, helpful tips and tricks for various lessons, or reminders to keep your students on track. But before you can adorn your classroom with well-designed posters, you’ll need to print them.
There are a couple of options for printing your posters, each dependent on your preferences and budget. Here, we’ll explore where to print posters for your classroom.
Online Printers
Quick and easy online printing is a convenient way to print posters for your classroom. You can choose from various online printing services that offer poster printing. Many online printers offer pre-designed options for easy, convenient poster printing, although the options vary based on the website.
With this option, you’ll upload or select a poster design and position it on the digital poster. Once you’re done, you can add the completed design to your cart and check out. After the company prints your poster, they’ll mail it directly to the school or your home based on the shipping address you enter.
This method is incredibly convenient, as you can print posters from the comfort of your desk. However, it can be costly for more than a few prints, requiring a sizeable chunk of your printing budget to decorate your classroom.
In-Person Print Shops
Nearby brick-and-mortar print shops are another option for your poster printing needs. Most locations can print posters, allowing you to choose the printed image or text you want on your classroom poster. Some local shops may offer pre-designed posters for convenience, but this varies based on the location.
This option, like online printing, can add up quickly, especially if you need to print more than a few posters.
School Poster Printers
The third option for classroom posters is a school poster printer. Many schools invest in their own poster printers to minimize costs. Once they buy the printer, they can occasionally refill on supplies and have a virtually endless realm of printing possibilities. The best part? You don’t have to pay for each print (save for the supplies).
The upfront costs are steeper than printing a few posters for teacher classrooms, but in the long run, the costs even out. In many cases, you’ll save money, especially if you use the printer frequently, like printing seasonal posters.
These poster printers come in various types and sizes and are capable of printing professional-grade posters worthy of attention. They’re an excellent alternative to paying a printing and shipping cost each time you want to incorporate a new poster into your classroom.
With these printers, revamping your classroom with new posters is as simple as walking to the school printer. Simply send the poster you want to the printer, prep it as necessary, and within just a few minutes, you’ll have a beautiful, bright, and vivid poster for your classroom.
With these printers, you can get posters for teacher classrooms for free (save for supply costs).
Professional Grade Printer Packages
At AGC Education, we offer an array of professional-grade printers, including three options designed to help educators like you decorate their classrooms.
- Educator Plus VIVID: This full-color poster printer comes with fluorescent ink to create posters that pop.
- Educator Plus Pro Series: This 8-color printer can produce prints with widths of up to 44” or 60”, ensuring your posters stand out in the mix.
- Educator Plus: This full-color poster printer has everything you need to print professional-quality posters at school. It comes in two sizes of 24 and 36-inch widths to accommodate varying needs.
Once you select a printer that matches your needs, take it to the next level with our Educator Plus package, which includes the following:
- Complete design software
- Specialty materials
- 1500+ education-specific design templates
- Enrollment in our “Technology Implementation Success Program”
- Ongoing support
- 3-year warranty
Elevate Your Poster Game With AGC Education
Printing posters can be a pricey venture for schools, especially if you buy them from online or in-store vendors. But with a school-wide poster printer, every teacher can create beautiful posters that pop without leaving the school.
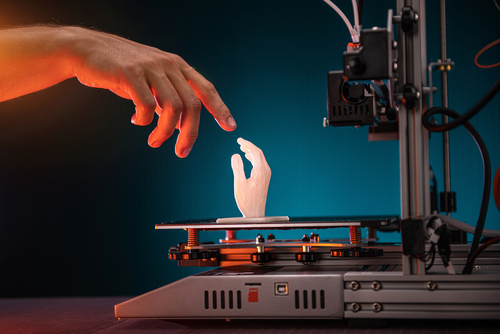
At AGC Education, we’re all about giving schools the resources they need to create stunning posters, prints, and other items at school. We offer a range of products, from 3D printers for fun projects to printers that create vibrant posters.
If you’re excited to outfit your school with bright, appealing posters, AGC Education has what you need, from the poster printer to the supplies. Contact us today to get started!