How Many Washes Does Sublimation Last? Tips and Tricks to Preserve Your Designs
If you’re looking for a unique way to customize your clothing or accessories, sublimation printing might be what you’re looking for! This printing technique employs heat and pressure to transfer ink onto the desired item, melding the ink to its surface to create a permanent, vibrant image.
However, like most things, it wears out after a while. But how many washes does sublimation last? Most sublimation designs last considerably longer than iron-on transfers, but the longevity ultimately depends on a handful of factors. Let’s dive into the general lifespan of sublimation designs and how you can create designs that last.
How Long Will Sublimation Designs Last?
Most sublimation designs last years, but the lifespan of your creations will vary depending on three primary factors: the quality of the ink, the type of fabric, and the care and maintenance of the garment.
Quality of Ink
The quality of the ink you use is one of the most important factors contributing to the lifespan of your design. Most cheap or low-quality inks begin to show signs of fading, peeling, and general wear and tear within just a few washes. In contrast, high-quality inks cost more but are designed to withstand the test of time, weathering many washes without peeling or fading.
If you want to create a design that will last, you’ll need to invest in good-quality ink designed for sublimation printing.
Fabric Type
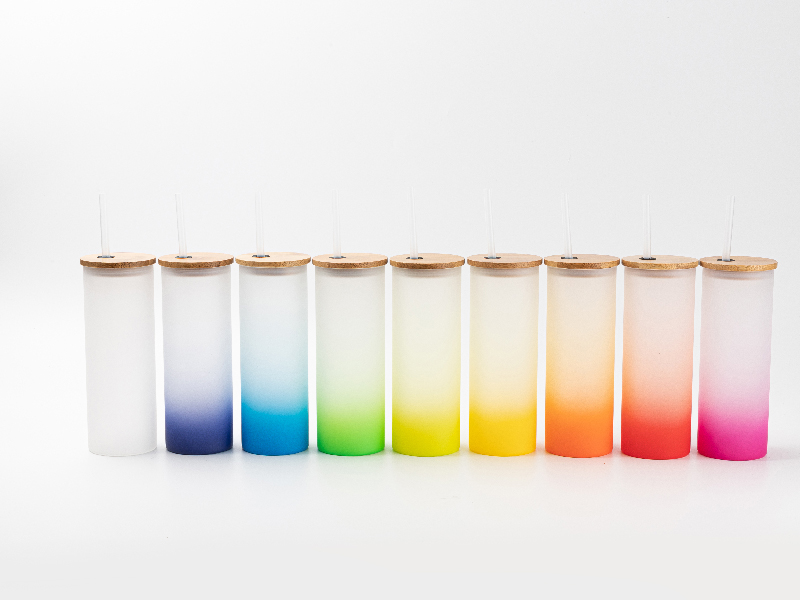
The garment’s fabric type will also significantly affect the longevity of your design. Some fabrics, including polyester and nylon, are more receptive to sublimation ink than others. The ink often adheres better to the fibers of the material, ensuring the design lasts longer without fading or peeling.
These fabrics are commonly used for sportswear and other types of athletic clothing, as durability and moisture-wicking properties are essential. This bodes well for your designs, as they hold well to these fabrics.
Natural fabrics, including cotton, are generally less receptive to sublimation ink, which may cause your design to fade sooner rather than later.
Care and Maintenance
The care and maintenance of your garment will also determine how long your design will last. Although sublimation designs are intended to last quite a while, they still require proper care and washing to keep them in tip-top shape and looking their best.
This typically means washing in cold water, avoiding harsh or caustic detergents and cleaners, and avoiding ironing or drying on high heat. This way, the design can remain bright and beautiful through many washes.
Tips to Create Lasting Sublimation Designs
If you want your sublimation designs to last as long as possible, a handful of tips and tricks can help you preserve the quality and appearance of your designs. Here are a few tips and tricks to get started:
Choose High-Quality Inks
As mentioned, the quality of the ink is one of the most important factors that affect the lifespan of your sublimation design. To ensure that your designs last as long as possible, it’s essential to use high-quality inks that are specifically designed for sublimation printing. These inks are formulated to withstand the heat and pressure of the sublimation process and the wear and tear of everyday use.
Pick the Right Fabrics
Choosing the right fabric is also important when it comes to creating lasting sublimation designs. Polyester and nylon are some of the most receptive fabrics for sublimation ink, often providing more durability than other types of fabrics. However, if you prefer to use natural fabrics like cotton, be sure to choose a high-quality, tightly woven fabric that will hold up well to the sublimation process.
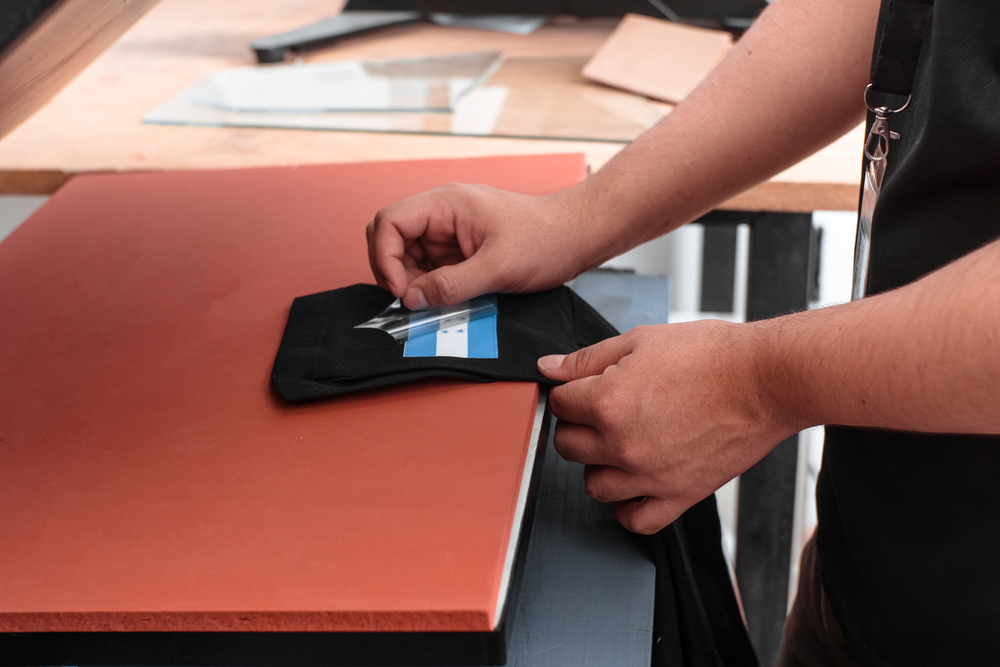
Invest in a Quality Sublimation Printer
Another important factor affecting the quality and longevity of your sublimation designs is the sublimation printer you use. A quality sublimation printer will ensure that the ink is evenly distributed and that the design is fully infused into the fabric, helping to prevent fading, cracking, or peeling over time that could skew your design. Be sure to choose a printer that is specifically designed for sublimation printing, as these models have the tools you’ll need to create beautiful designs.
Follow Proper Care and Maintenance Procedures
Finally, following proper care and maintenance procedures is important to ensure that your sublimation designs last as long as possible. This means washing your garments in cold water, using a gentle detergent, and avoiding high heat when drying and ironing. You should also avoid using bleach or other harsh chemicals, as these can damage the fabric and cause the ink to fade or peel over time.
Kickstart Your Sublimation Journey With AGC Education
The lifespan of your sublimation designs largely depends on the quality of the ink, the type of fabric, and the care and maintenance of the garment. By following our tips and tricks, you can create beautiful, lasting designs that withstand more washes.
If you’re ready to get started with your sublimation journey, we have the supplies you’ll need. From a high-quality sublimation printer to printing supplies, we have you covered. Browse through our sublimation supplies and take the first step toward creating beautiful designs today!