4 Easy Christmas Sublimation Gift Ideas

The holiday season is meant to be a time of good cheer, generosity, and gratitude. At its best, a gift can embody all of these values!
Yet, each year, a new, controversial gift-related hot take seems to “go viral”: that everyone’s too materialistic, that gifts for teachers from students are unethical, or, that somehow gift giving (and receiving!) has become a chore.
This year, why not go for a personable, affordable gift that’s actually fun to give and receive? Create a unique gift with custom designs through sublimation printing. What type of gift? We can think of a few neat ideas…
Why Make Sublimation Christmas Gifts?
Sublimation is a printing process that enables truly high-quality results. This lets your gifts showcase your unique sense of style, without appearing “cheap.”
Quick Review: What Is Sublimation?
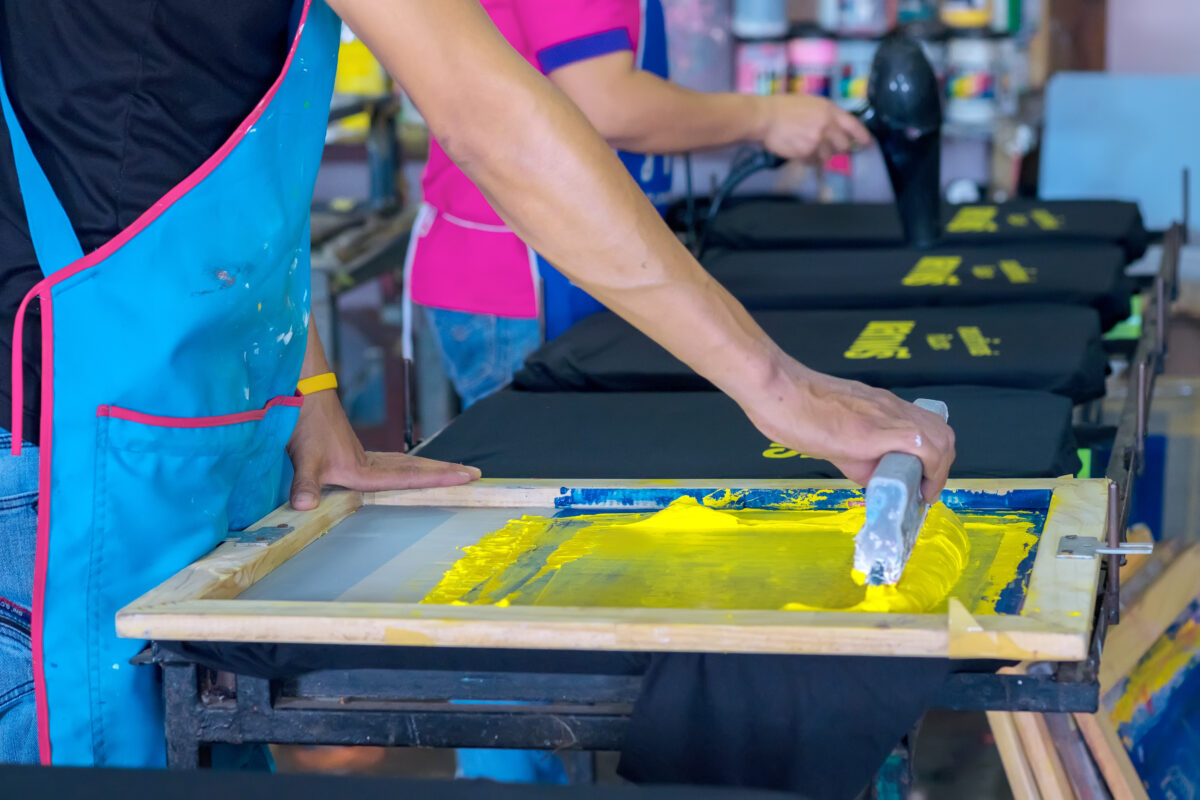
Sublimation printing uses a sublimation printer to dye “blanks”: objects like drinkware or apparel, treated with a special substance that absorbs the dye, adhering the printed design to the object’s surface.
Unlike other types of printing, like vinyl pressing, the design becomes wholly suffused on the object’s surface, so it can be washed and used normally. In contrast to heat pressing, there’s no risk a sublimated design will peel or wear off with use.
4 Excellent Qualities of Sublimation Gifts
Sublimation products all share four traits that make them standout gifts. When you give a sublimation product as a gift, you can be confident it will be…
- Unique
Sublimation empowers you to create original designs! You’re also free to put your own twist on a design that suits your style. Either way, you can be sure the recipient is the only person in the world with that exact piece.
- Affordable
Sublimation blanks can be purchased wholesale, making them a cost-effective choice for a gift. Consider that a popular 20 oz stainless steel tumbler at Target is $29.99. Meanwhile, a stainless steel tumbler blank is only $12.00. That’s quite a savings!
- Aesthetically Appealing
You can control all elements of the printed design to align with your fashion sense—or your intended gift recipient’s. And, if you don’t feel confident in your aesthetic sense, you can always download a print created by professional graphic designers that’s ready to go.
- Useful
Sublimation can be used to print on canvases or posters. But, more often, it’s used to add artwork or creative flair to practical items we use every day. In this way, sublimation gifts balance beauty and utility.
4 Easy, Brilliant Gift Ideas (Simple Classroom Sublimation Projects)
Classroom sublimation projects can be an easy, fun way to get students invested in mastering design and problem-solving skills—all while getting creative!
Each of these projects utilizes a sublimation printer, a flat heat press, or a component that can be easily fitted to a heat press (like a tumbler-shaped attachment). The ideas’ simplicity stems from the templates, tutorials, and guide design options available for each.
At the same time, these sublimation projects can be altered and adapted, so they can suit students of varying skill levels. (If you need more detailed information on how to make sublimation gifts, check out our guide).
- Sublimation Christmas Ornaments & Holiday Decor
Sublimation Christmas ornaments are festive and straightforward. Simply choose a sublimation ornament blank in an iconic shape—maybe a Christmas tree, a snowflake, or a star—then work with students to create an original design that fits the shape, or to work from a template. For younger students, a popular option is to use a blank that incorporates a frame into its design, like this bell. Then, as you create the digital design to print, use the student’s school photo (or, a family photo) as the design’s centerpiece.
- Sublimation Fashion Accessories
Fashion accessories are fun, trendy, and useful. Patches, which gift recipients can stitch onto their bags or sashes, are a perennially popular punk look.
Backpacks and hats are practical while offering a large “canvas” for students’ creativity. They’re particularly popular among the athletes on your gift list.
When choosing blanks, consider how the curve or waviness of the accessory might affect your design. It might be best to choose bold, central images which read clearly across the room, or fun abstract patterns and prints.
- DIY Home Decor Project With Sublimation
Home decor is a fun gift category for people who might otherwise be hard to buy for.
Maybe your thoughtful, studious cousin would appreciate a notebook printed with a one-of-a-kind design. Or, maybe your mom would appreciate a set of coasters to protect her end tables (and brighten them up!).
From clocks to keychains to refrigerator magnets, sublimation can spruce up almost anything in the house.
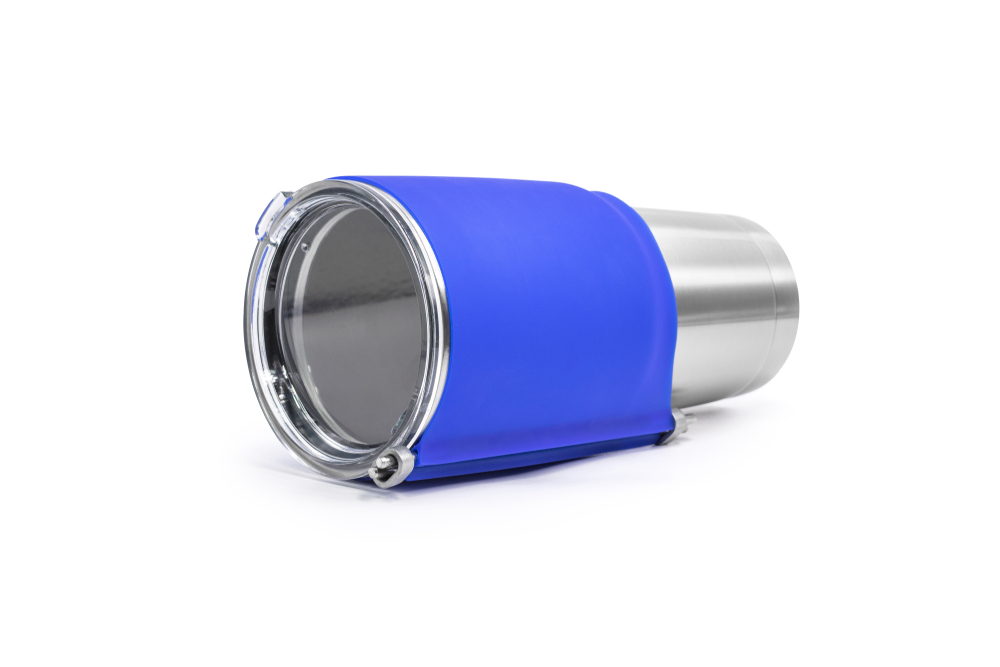
- Sublimation Printed Tumblers & Drinkware
Drinkware is an S-tier sublimation Christmas gift. Not only is it useful—everyone needs to stay hydrated!—but it also helps your giftee save money on bottled drinks, helps protect the environment, and adds a bit of creative charm to every meal.
Drinkware like tumblers, mugs, and bottles can be sublimated in a process that is largely similar to typical sublimation projects. There is one extra step: using the curved heat press attachment to affix the print on your cylindrical blank. Other than that, though, the process is smooth sailing.
AGC Education: Equip Student Makers With Technology, Vision, and Support
Holiday breaks don’t mean taking a break from getting creative! That’s why AGC Education offers full-service technical support every day of the year.
Classroom edtech solutions can’t be one-size-fits-all. Our maker space products and resources are fully customizable, so you can craft a solution that fits your community’s unique needs. And, each and every client gets the undivided attention of our support service team—no matter when you call.
If sublimation projects are right for your classroom—or you have questions about maker space options—contact us at 1 (800) 535-7553. Or, reach out for more information at [email protected].