


Your Comprehensive Heat Transfer Vinyl Guide
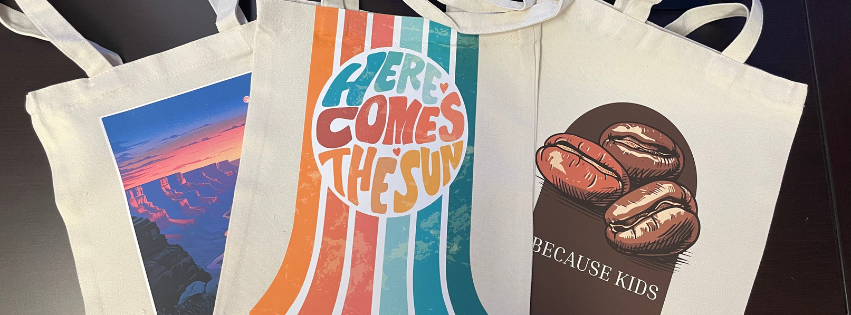
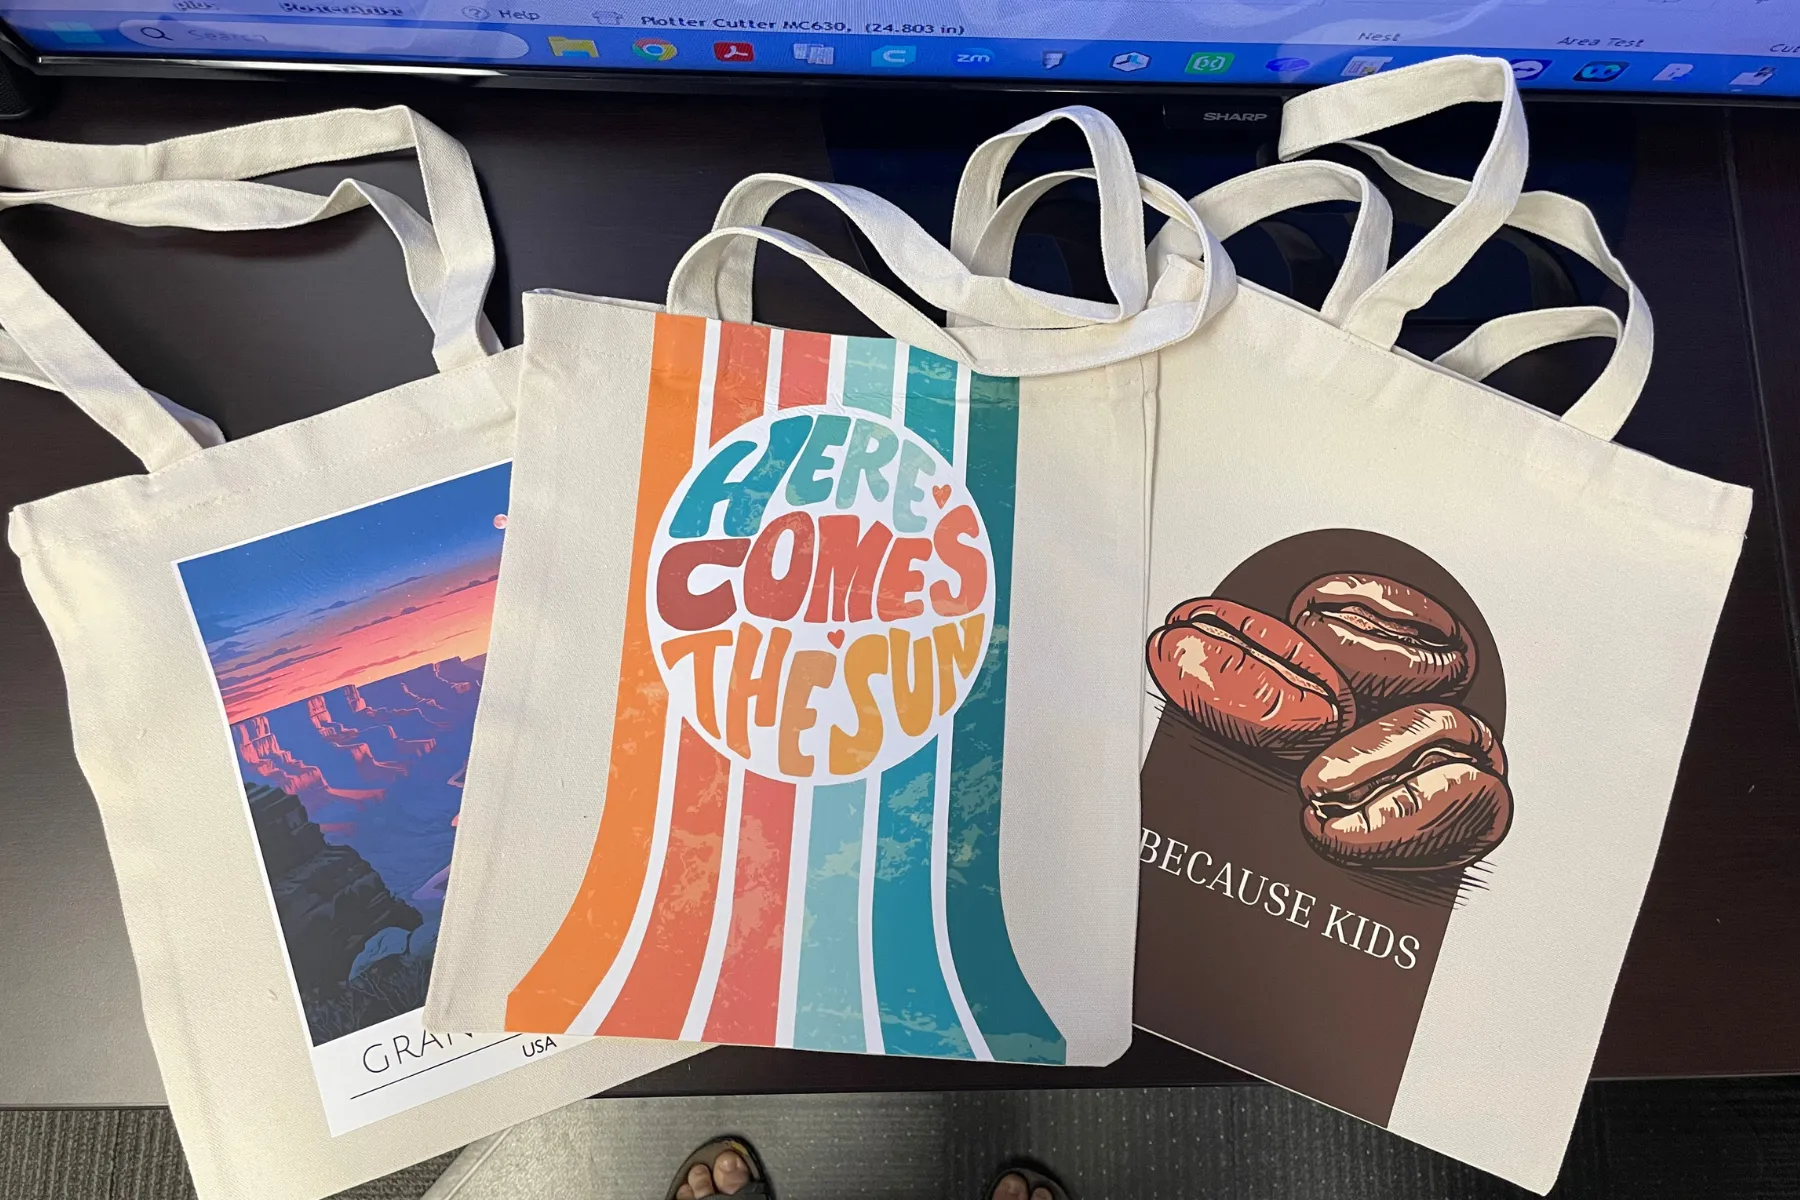
Custom T-shirts, tote bags, aprons, hoodies, and more—all featuring your custom design, brand, or logo. With heat transfer vinyl, creating those custom items yourself becomes far easier. You’ll use an assortment of materials and tools to craft your designs, including a vinyl cutter and specialty vinyl.
If you’re new to creating items with heat transfer vinyl, the process can seem a bit overwhelming. This guide simplifies the process, walking you through each stage to help you kickstart your creation journey.
What is Heat Transfer Vinyl?
Heat transfer vinyl is a type of vinyl that requires heat and pressure to adhere to fabric. Once you craft your design and cut out the vinyl to the correct shape, you can iron the vinyl onto the fabric of your choice. Use it to create custom tees, hoodies, bags, aprons, and more—there are so many fun ways to use heat transfer vinyl!
6 Steps to Creating Custom Designs With Heat Transfer Vinyl
Crafting a custom product featuring your own personalized heat transfer vinyl design entails a handful of steps. Here’s how to get started designing:
1. Gather Your Materials
Before you can start creating your custom artwork, you’ll need to gather a few supplies and tools. You’ll need:
- Heat Transfer Vinyl – Choose a color and style that matches your project!
- Vinyl Cutter
- Weeding Tools
- Heat Press
- Transfer Tape – Optional, but helpful for intricate designs
- Garment or Fabric Item – Need ideas? Explore our heat transfer supplies!
- Design and Cut Software
Classroom tip: Keep a labeled bin of consumables (test scraps, weeding hooks, Teflon sheets/lis) for student projects.
2. Design Your Artwork
The first step in creating custom vinyl artwork is designing it. This is where you can let your creativity take the reins. Let your ideas flow!
- Start with a clear canvas size that matches your garment area.
- Keep text and important details at least 0.25″ from the edge for durability.
- Convert text to paths/outlines before exporting to avoid font issues.
- Always mirror text and any asymmetrical designs before cutting (HTV is applied face-down).
Teacher tip: Use templates (T-shirt chest, sleeve, tote panel) so students design to the correct scale.
3. Prepare and Load the Vinyl
After creating your design, it’s time to prepare and cut the vinyl.
- Cut the vinyl to size, leaving a small margin around the design.
- Place vinyl on the cutting mat shiny side down
- Choose the material setting on your cutter that matches the HTV type; if unsure, lower force and increase incrementally.
When loading your vinyl, it’s important to place it shiny side down on the cutting mat. The glossy side is the carrier sheet, while the matte side contains the adhesive that will bond to your fabric. For most colored HTV, the colored side should face down so the cutter only scores the adhesive layer.
4. Cut and Weed Your Design
With the vinyl loaded and ready to go, you’re ready to cut out the design. Before you start, ensure your pressure settings are correct for the material you’re using. If you’re unsure, try performing a test cut.
- Send the mirrored design to the cutter.
- After cutting, remove the excess vinyl (weeding) so the design remains on the liner.
- Use tweezers, a hook, or a weeding pen to remove centers of letters and fine details.
- For layered designs, plan your order (base layer first, then overlays).
Teacher tip: For tiny details, use a low-stick transfer tape or a weeding box technique (peel away large areas first).
5. Apply Vinyl to Your Fabric
Preheat your iron or heat press to the temperature recommended for your specific heat transfer vinyl. If you’re using a heat press with multiple attachments, make sure the correct press is connected before you start to preheat.
- Preheat press or iron the garment for 2–5 seconds to remove moisture/wrinkles.
- Position the design face-down (liner/shiny side up) on the fabric.
- Cover with a Teflon sheet or parchment paper to protect both vinyl and press.
- Apply consistent pressure for the recommended time and temperature for the HTV type.
Let the design cool slightly, then peel away the carrier sheet slowly and carefully. If the design lifts from the fabric, lay the carrier sheet back down and apply more heat and pressure.
Teacher Tip: Always supervise students around hot presses; establish a single operator or designated press station.
6. Finishing Touches and Care Instructions
After you apply the design, take a closer look to make sure that the vinyl has adhered properly and there aren’t any loose edges. If everything looks good, let the item cool completely before washing or wearing it.
When you need to clean the item, flip it inside out to protect the design while washing. Avoid using high heat in the dryer, as this can interfere with the design.
Teacher Tip: Have students create printed care tags and packaging as part of a branding/fulfillment lesson.
Common Heat Transfer Mistakes & Fixes
- Design is backwards → Always mirror your design before cutting.
- Vinyl not sticking → Recheck temperature/pressure/time for your specific HTV. Try a test press to ensure fabric is compatible.
- Design lifts after wash → Verify correct HTV for fabric and press settings; suggest low-heat washing.
- Edges peeling or lifting → Press again with a Teflon sheet or parchment barrier for a few more seconds. If it still lifts, try slightly higher temperature or firmer pressure.
- Cut didn’t go through vinyl → Increase blade depth or cutting pressure. Do a small test cut before every new project or material type to dial in your settings.
- Weeding is difficult → Use good lighting and a warm peel technique—slightly warming the vinyl before weeding can make small pieces easier to lift.
- Vinyl bubbles or wrinkles after pressing → This can happen if you applied too much heat or pressed too long. Try lowering temperature or pressing time slightly on your next attempt.
- Color fading or cracking → This is often due to high dryer heat or over-pressing. Recommend air drying or tumble drying on low, and pressing for the manufacturer’s suggested time only.
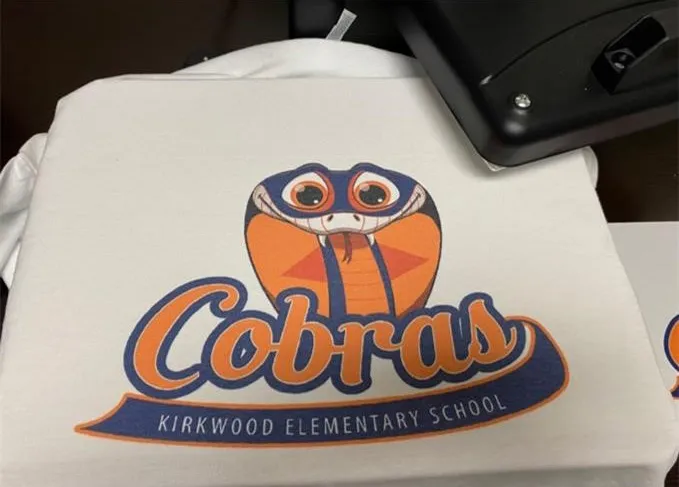
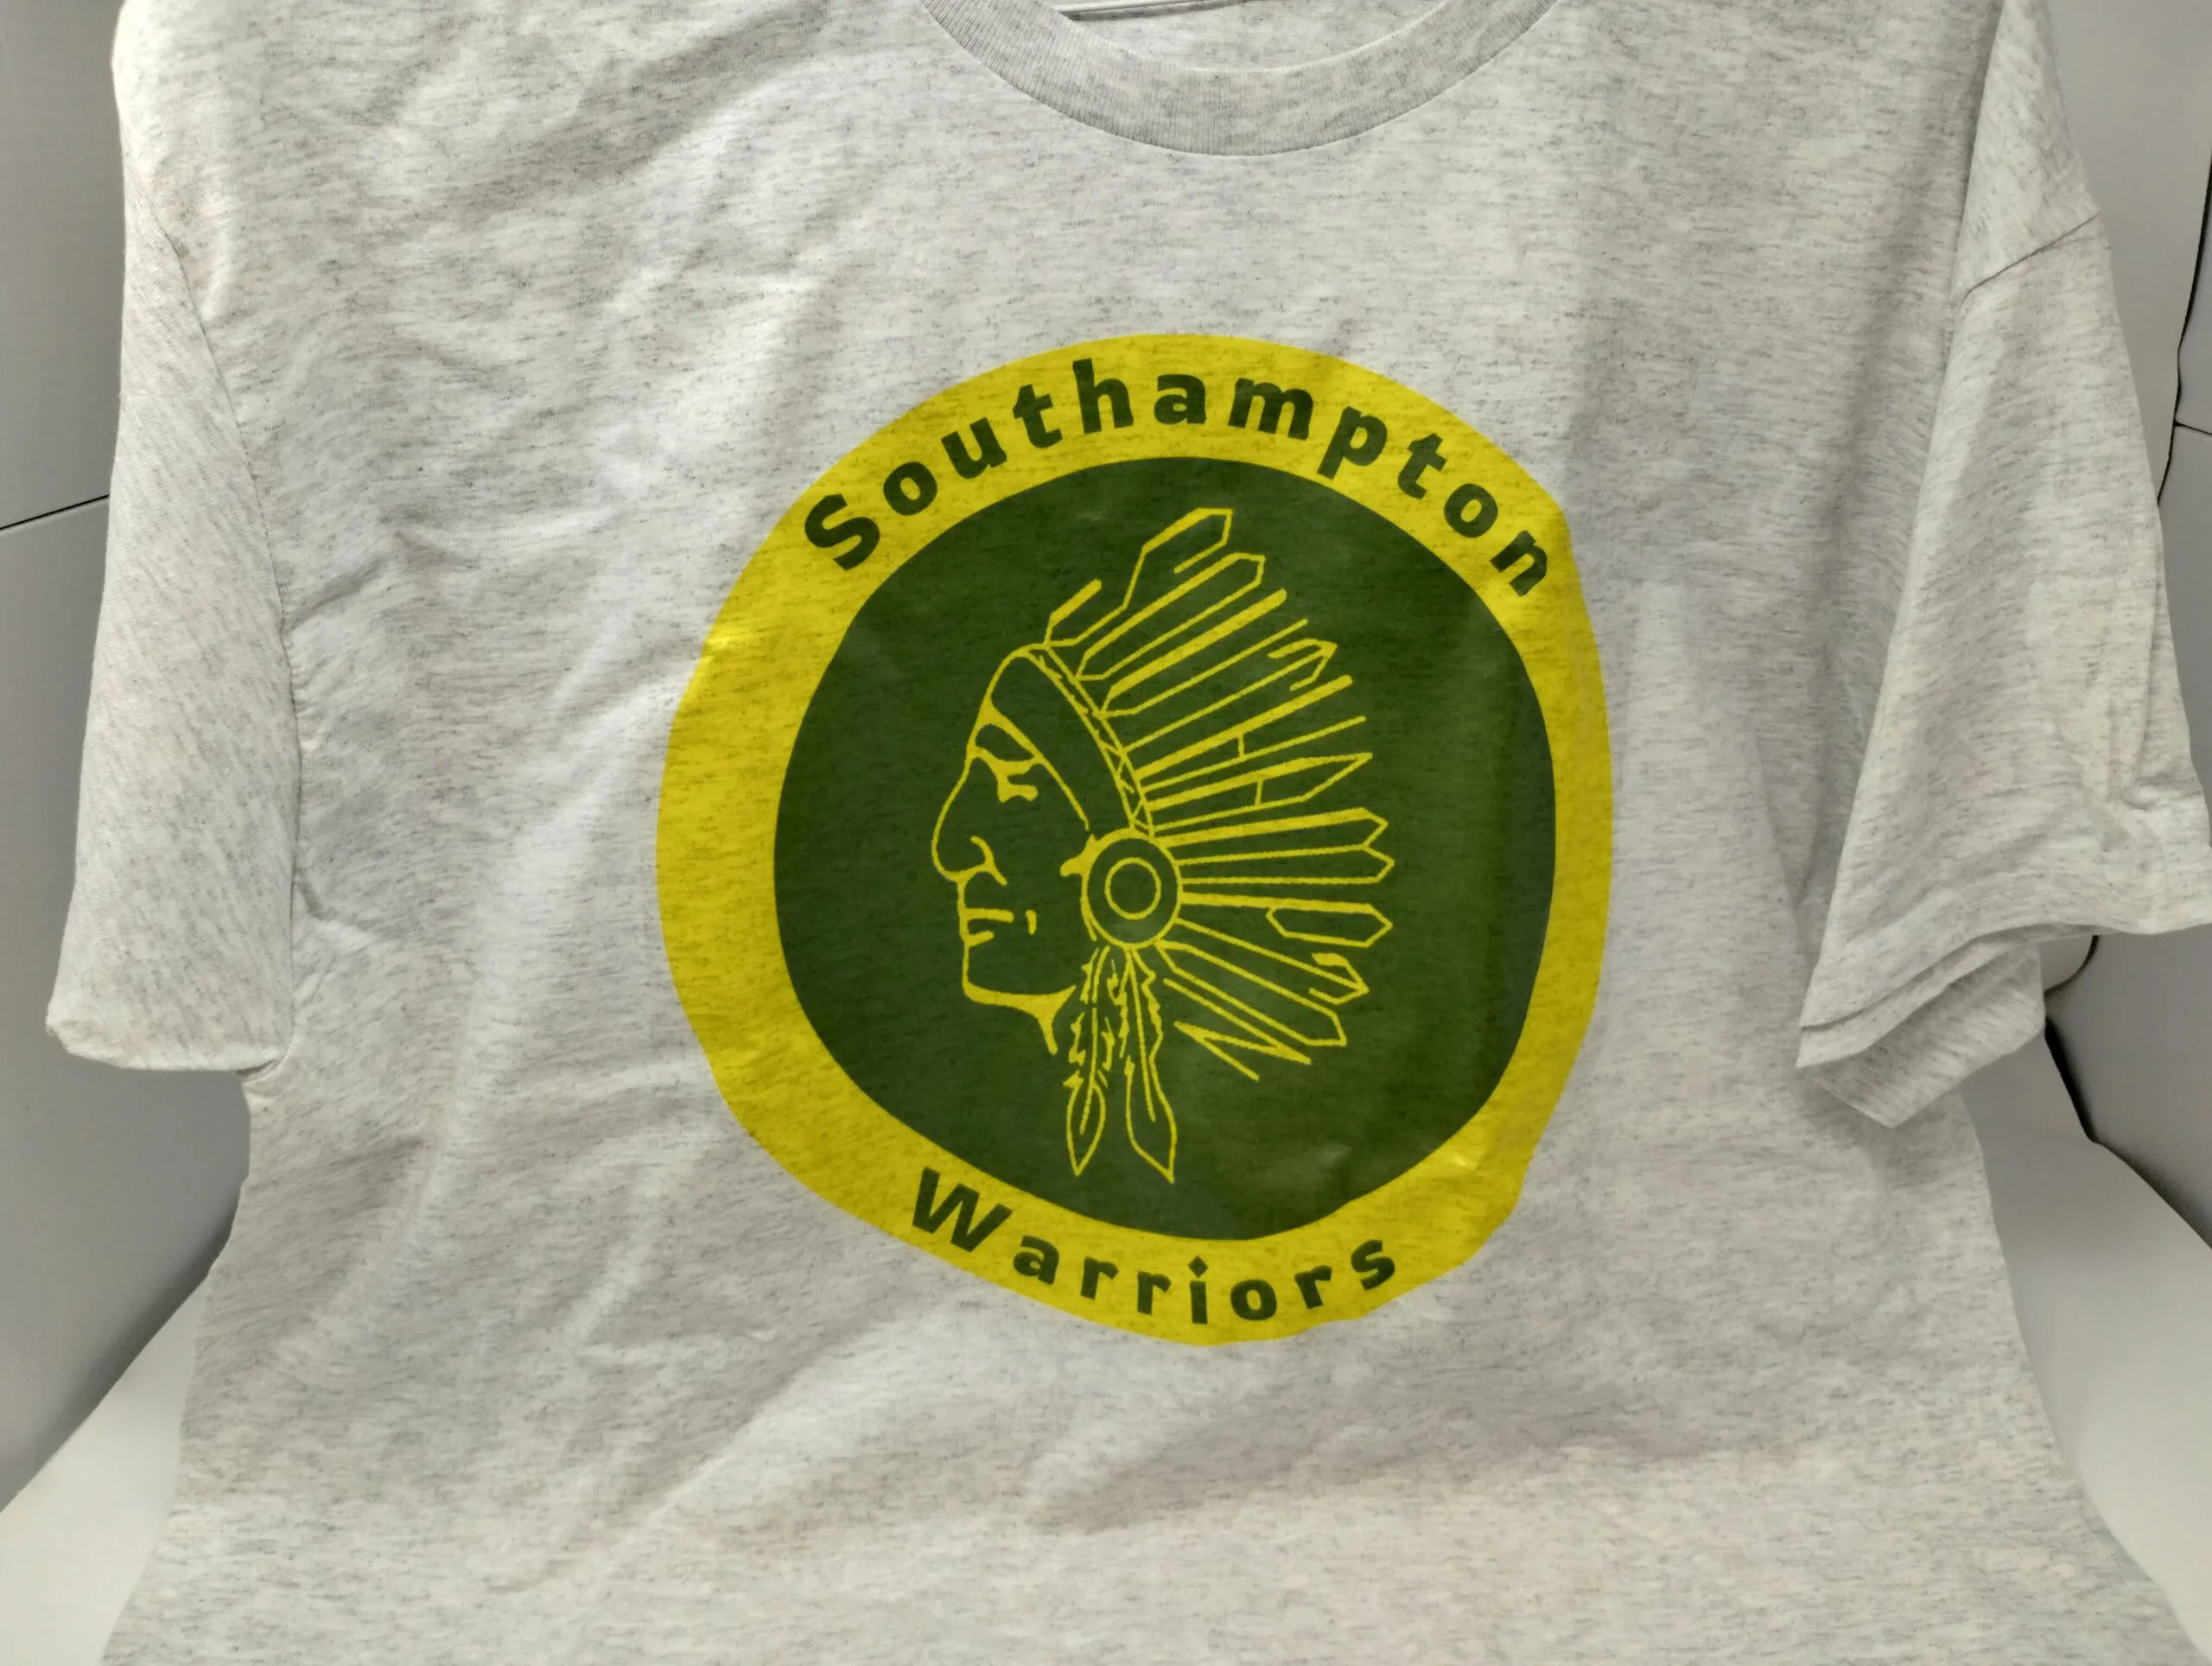
Heat Transfer Vinyl in the Classroom: Project Ideas for Schools
Heat transfer vinyl isn’t just a fun craft tool – it’s a powerful way to engage students in hands-on learning. From art classes to entrepreneurship programs, HTV projects allow students to explore creativity, design, and real-world problem solving. Here are some practical ways educators are incorporating HTV into the classroom:
- Student-Designed Spirit Wear
- Students can create custom T-shirts, hoodies, or hats for their school or club, building school pride while learning basic design principles.
- Fundraising and Merchandise
- Students can produce small batches of items like tote bags or aprons, learning entrepreneurship skills while raising funds for clubs or causes.
- Personalized Classroom Décor
- Students can design bulletin board headers, banners, or motivational quotes, giving them ownership over their learning spaces.
- CTE and Business Education Projects
- Integrate HTV into school-based enterprises to teach product design, branding, and sales in a real-world context.
- Art and Design Class Challenges
- Encourage students to experiment with colors, textures, and patterns to develop design skills.

HTV offers endless opportunities to make learning interactive, engaging, and practical. Whether your students are crafting spirit wear, fundraising for a cause, or running their own mini-business, these projects teach design, collaboration, and real-world skills – all while giving them something tangible and personalized to take home or sell.
Dos and Don’ts of Heat Transfer Vinyl
Working with heat transfer vinyl, design software, and vinyl cutting machines can seem overwhelming, but with time and practice, you’ll learn the ins and outs of it all. Here are a few dos and don’ts to help you get started:
- Do complete a test cut before cutting your design to ensure your settings are correct.
- Don’t forget to flip the item inside out before washing.
- Do air dry the item, or, if necessary, dry on low heat.
- Don’t wear or use the item before cooling, as this can interfere with the design.
- Do double-check your fabric type and recommended heat transfer vinyl settings to avoid issues with the vinyl not sticking.
- Do practice with simple designs before moving on to more extravagant and intricate designs.
Start Creating Custom Vinyl Designs With AGC Education
Heat transfer vinyl is the perfect medium for all sorts of projects, from creative seasonal hoodies to adorable, personalized tote bags. There’s so much you can create—the sky is your limit! If you’re ready to begin crafting custom vinyl projects with heat transfer vinyl, we have you covered.
At AGC Education, we have everything you’ll need to get started, including a vinyl cutter and multiple supplies, such as various types of vinyl, and various accessories to complete your creations. Contact us today at 1(800) 535-7553 or complete our online contact form to learn more about our heat transfer vinyl tools and supplies