


How To Make Custom Magnets for Your Classroom
If you want to spice up your teaching game with fun lesson tools or decorate your classroom with a personalized touch, custom magnets made with printable magnet material might just be what you need! This flexible and thin material is compatible with various types of printers, making it an excellent (and affordable) way to create personalized magnets with beautiful designs.
It’s quick and easy, only requiring a few steps to create stunning magnets. Here, we’ll explore the steps involved in the process to help kickstart your magnet-making journey. We’ll even share a few of our favorite ideas for using custom magnets in the classroom. So, without further ado, let’s get started!
What is Printable Magnet Material?
Printable magnet material is a thin, flexible material that can go through certain types of printers. While noticeably thicker than paper, it’s still thin enough to pass through a standard inkjet printer and exit with a beautiful design.
It’s flexible, so it has no issues passing through the internal mechanisms of a printer. It’s solid black on one side – this is the magnet side. The other side features a white coating that can be glossy or matte – this is the side you print your designs on.
Using this material, making custom magnets without a complicated, drawn-out process is simple. It only takes a few steps to start creating personalized designs that perfectly match your magnet-making needs.
How to Make Custom Magnets With Printable Magnet Material
Making custom magnets with your printable magnet material is straightforward. However, you’ll need to avoid using excessive heat on the material, as most sheet materials of this kind can only handle temperatures of up to 70 degrees.
Due to these restrictions, it’s best to print your designs on the material using an inkjet printer. Laser printers get far too hot for the material, so you can’t use them for printing magnets.
Choose Your Designs
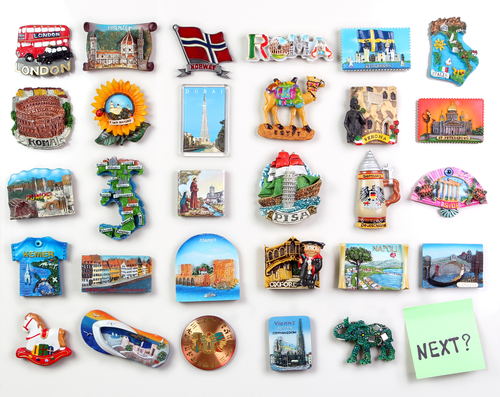
The first step is one of the most exciting parts of the process. In this step, you’ll choose what designs you want to print on your magnets. Choose high-quality photos with solid resolution to ensure a crisp, clean finish.
Arrange the images in a Word document, Google document, or similar document, ensuring there’s plenty of room between each design for cutting clearance. If the designs are too close, you may have a tough time cutting around one design without accidentally cutting the one next to it. So, be sure to leave enough room for easy cutting.
Adjust the Settings for Your Printer
Before you begin printing, you’ll need to tweak the settings on your printer. This process will vary based on the type of printer you have. Ensure you select “Glossy” for the paper type if your magnet material is shiny.
Verify that the printer is set to one-sided, as a double-sided print won’t work well. If your printable magnet material comes in a continuous roll, cut it into sheets in a size your printer can handle.
Add the Material to the Printer
Once the settings are correct and you’re ready to start printing, add the printable magnet material to your printer.
Pay attention to how your printer takes the paper. Ensure you place the magnet material to print on the white side. If your printer prints on the underside of the paper you put in it, make sure you add the magnet material upside down.
It’s best to load one sheet at a time so you don’t overload the printer or risk smudging the final product.
Start Printing
Once your designs are ready, the settings are all set, and you’ve loaded the material, it’s time to print! Before you print the entirety of your designs or bulk orders, test print one simple design using the current settings. If the print comes out poorly, tweak the settings as necessary to achieve a crisp, clean result.
After you get a beautiful initial print, start printing the rest of your magnets.
Cut the Magnets to Size
Your last step is to trim the magnets to size. Cut off the excess surrounding each design, trimming as necessary to achieve the desired result. This process should be a breeze if you leave enough space between each design!
Your magnets are ready to use once you finish wrapping up the trimming process!
Fun Custom Magnet Ideas for Your Classroom
The sky is the limit when crafting custom magnets for your classroom. Here are a few of our favorite ideas:
- Sight word tray: Print various words on a magnet sheet and place the cut-out word squares on a cookie sheet. Have your students create sentences, find specific words, and similar tasks by arranging the words on the cookie tray.
- Gifts: Need a creative way to help your students craft personalized gifts for Mother’s Day, Father’s Day, and other holidays? Let them create a custom design and print it onto a magnet for a cute, personalized gift.
- Decorations: Use the magnets to decorate lockers, doors, and other metal materials throughout your classroom and create a space that sparkles with unique flair.
Craft Your Own Custom Magnets With Printable Magnet Material
Gone are the days of boring magnets with generic designs. Now, you can make custom magnets with little to no effort – all it takes is a few simple steps to choose the perfect design and transfer it to a piece of printable magnet material!
They’re incredibly versatile, working perfectly for creative classroom fun, decorations, and cute custom gifts. Whether you want to use your custom magnets for educational purposes or to add a splash of spice to your classroom’s decor, the possibilities are endless.
Ready to get started making your own custom magnets? Try our printable magnet material from our arsenal of educational supplies at AGC Education. Contact us today to learn more about our printable magnet material and how it can help you create beautiful, custom magnets!