Empowering Student Entrepreneurs: Tech Solutions for School-Based Enterprise
School-based enterprises are on the rise in schools, and it’s easy to see why. When students get the chance to run a school-based business, they’re not just making and selling products. They’re learning how to collaborate, solve problems, and think creatively. These are the kinds of skills that stick with them long after graduation.
For educators, school-based enterprise programs can boost classroom engagement, encourage innovation, and bring the school community closer together. It’s a win for both students and schools.
Of course, having a good idea is only the starting point. To turn those ideas into school-based enterprises, students need the right tools. That’s where technology makes all the difference.
Benefits of School-Based Enterprises for Students and Schools
Developing Real-World Business Skills
Students quickly discover that running a business is about more than just making products. They develop financial literacy, marketing know-how, project management skills, and the ability to make data-driven decisions – all in a safe, supportive environment.
Encouraging Creativity and Problem Solving
From designing a product to figuring out how to fix mistakes in production, students are constantly problem solving. They learn to test ideas, make adjustments, and find creative solutions when things don’t go as planned. These hands-on challenges help them build resilience and connect classroom concepts to real-world situations.
Building Confidence and Leadership
Student-run enterprises – even small ones – give students agency. They learn to lead teams, make decisions, and present their ideas with confidence. These experiences are invaluable for college applications, future careers, and personal growth.
Choosing the Right Tech for Your School-Based Enterprise Program
Not every school-based enterprise needs the same setup. Some schools might launch a simple print shop, while others dive into custom merchandise or prototyping. The key is to pick the right starting point for your program – one that fits your budget, your students’ interests, and the type of products you’d like them to create. Below, we’ll compare some of the most popular tools schools are using for school-based entrepreneurship, with examples of what each one does best.
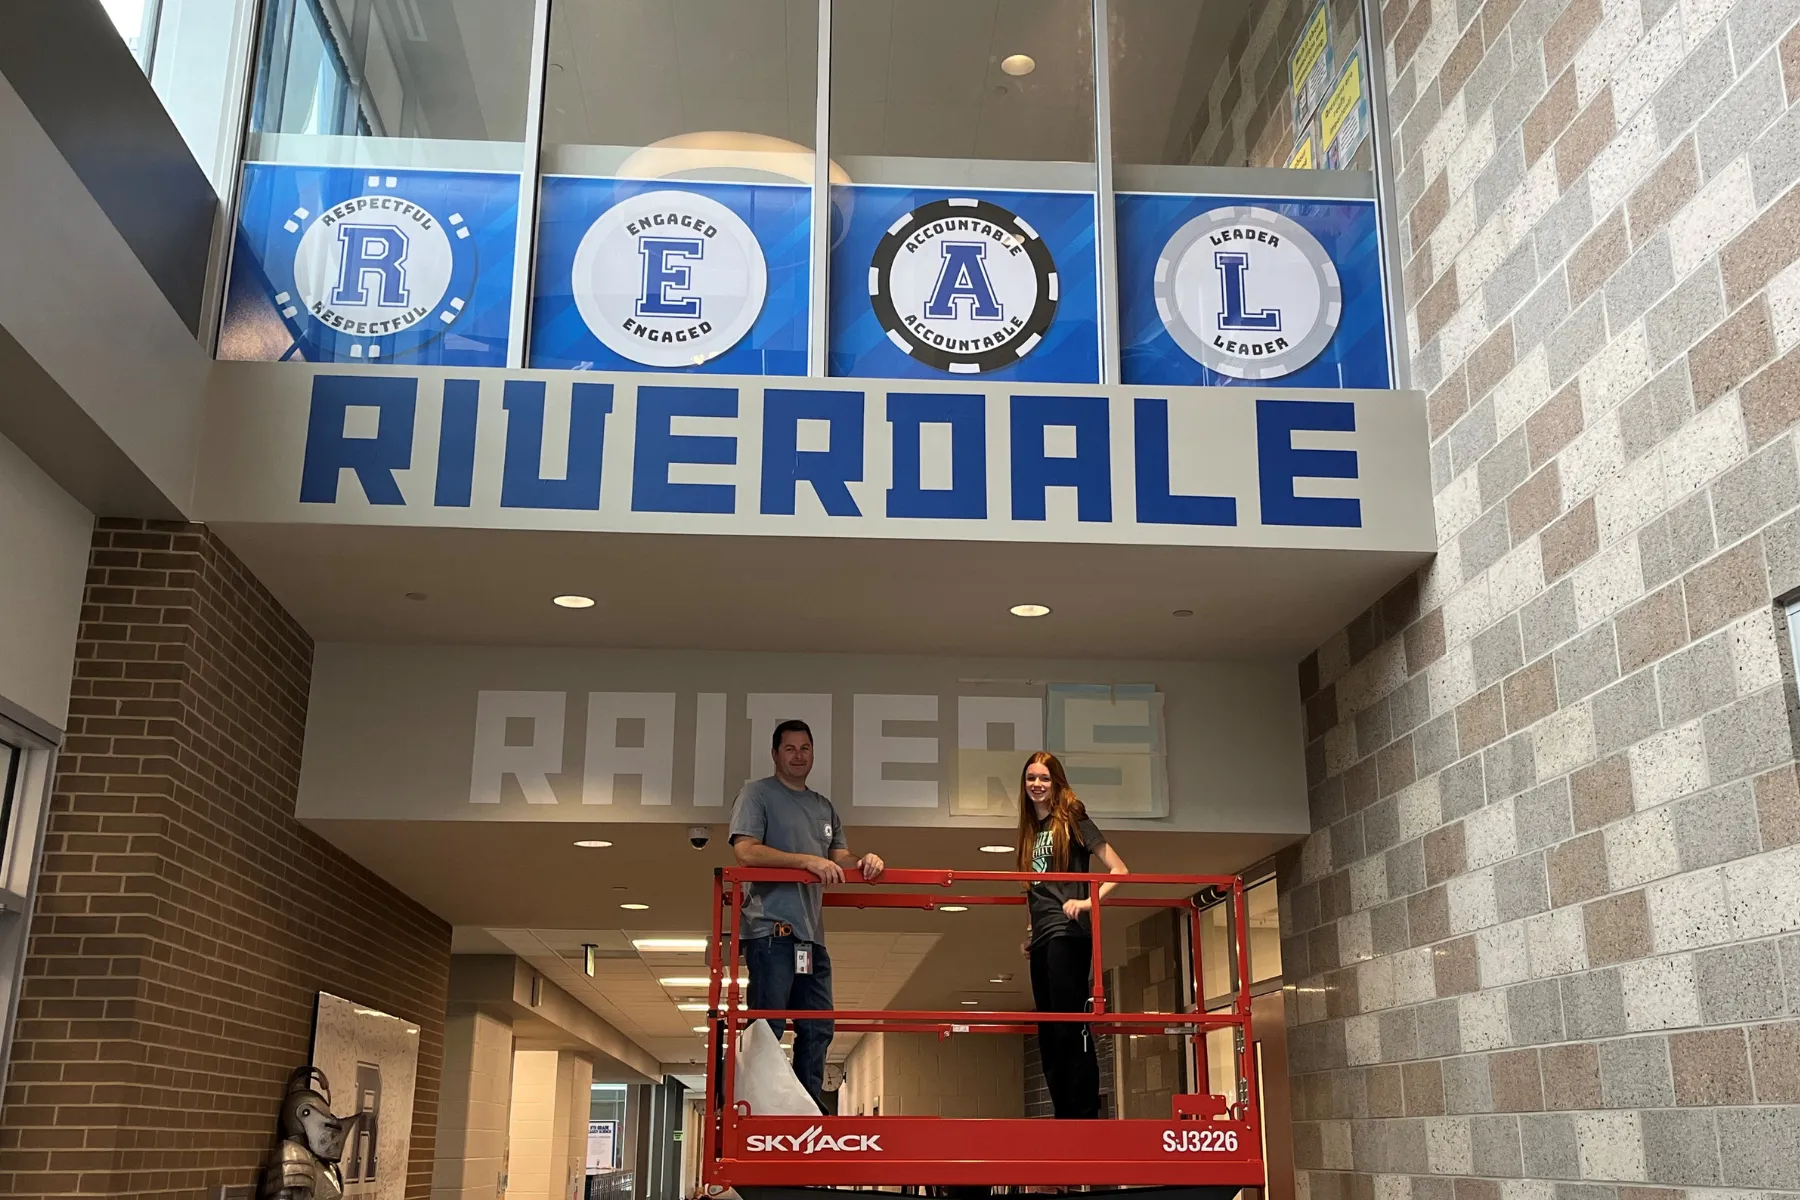
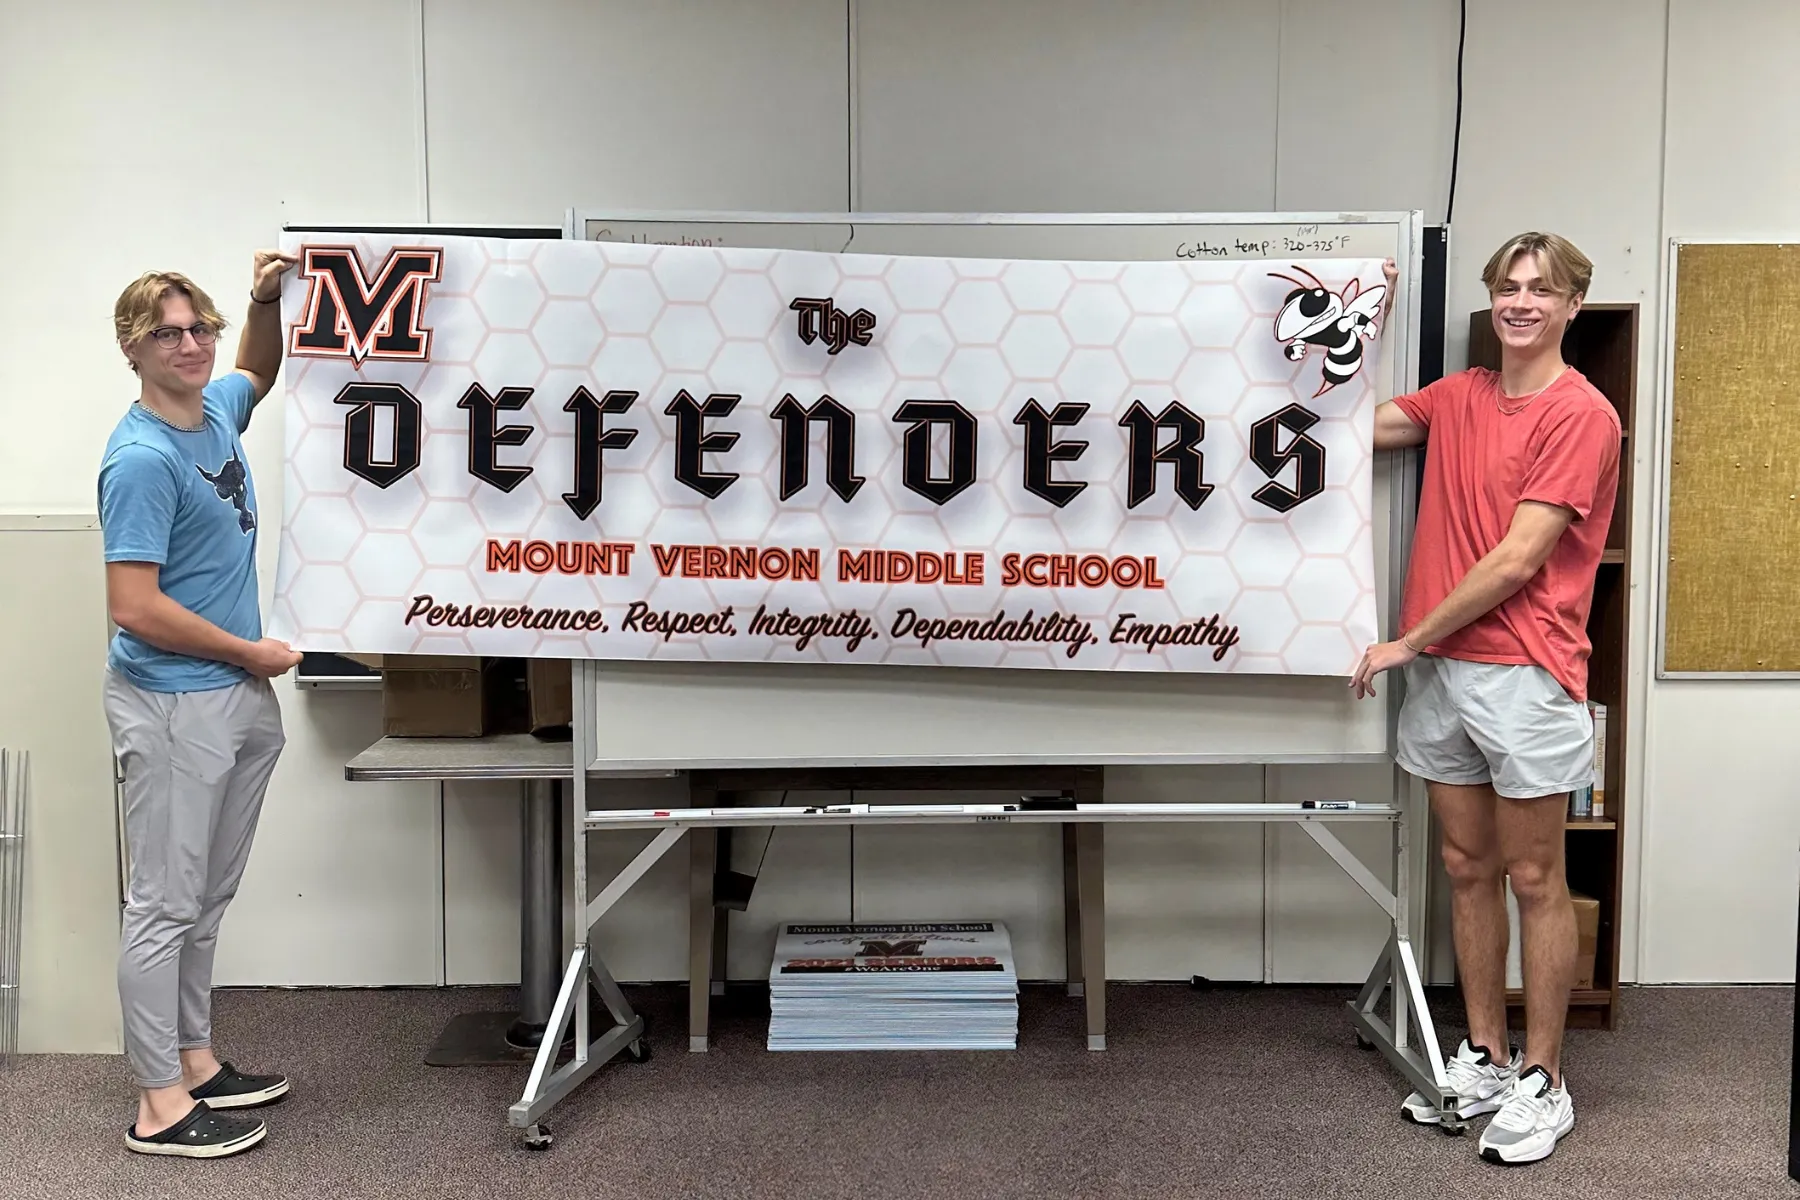
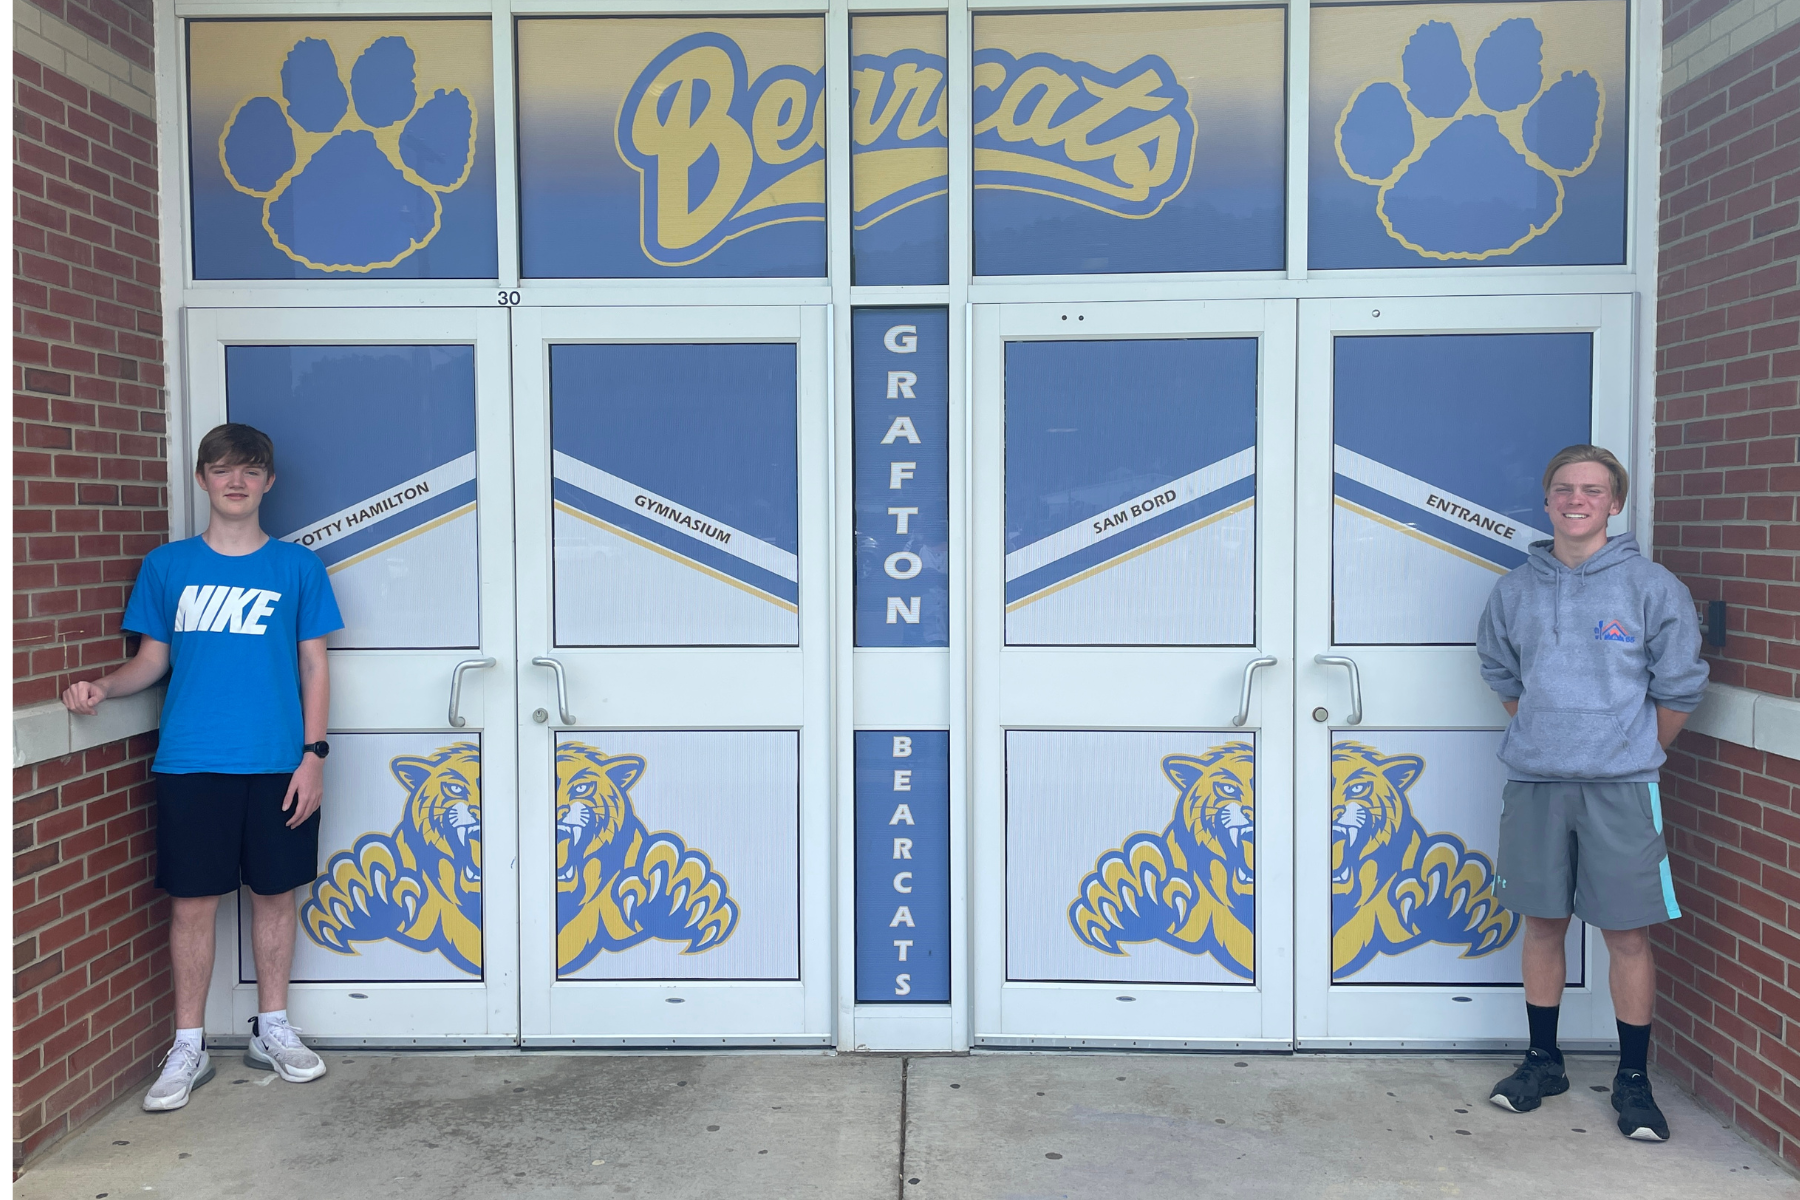
Poster Printers for Student-Led Print Shops
If your students want to design and sell banners, event posters, or larger graphics, a poster printer is a great place to start. It’s ideal for programs that want quick wins – big, eye-catching products with relatively simple production.
What Can Students Make with a Poster Printer?
- Event Banners
- Promotional Posters
- Custom Art Prints
- Graphics and Signage
Starting Point: AGC’s Educator Plus Poster Printer for Schools
AGC’s Educator Plus Poster Printer helps students create banners, posters, and classroom displays quickly and easily. Its intuitive interface and flexibility allow students to bring ideas to life for school events, fundraisers, and school-based enterprise projects.

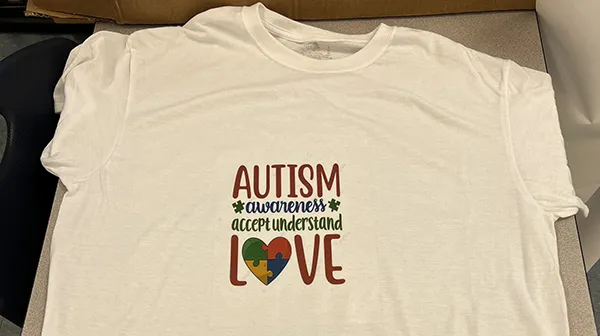
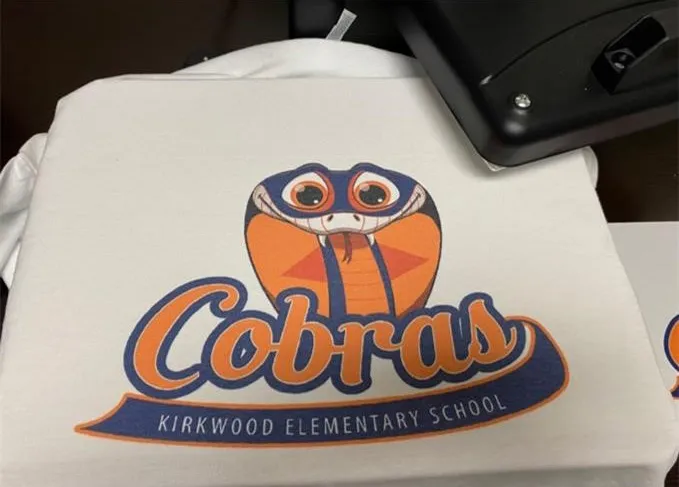
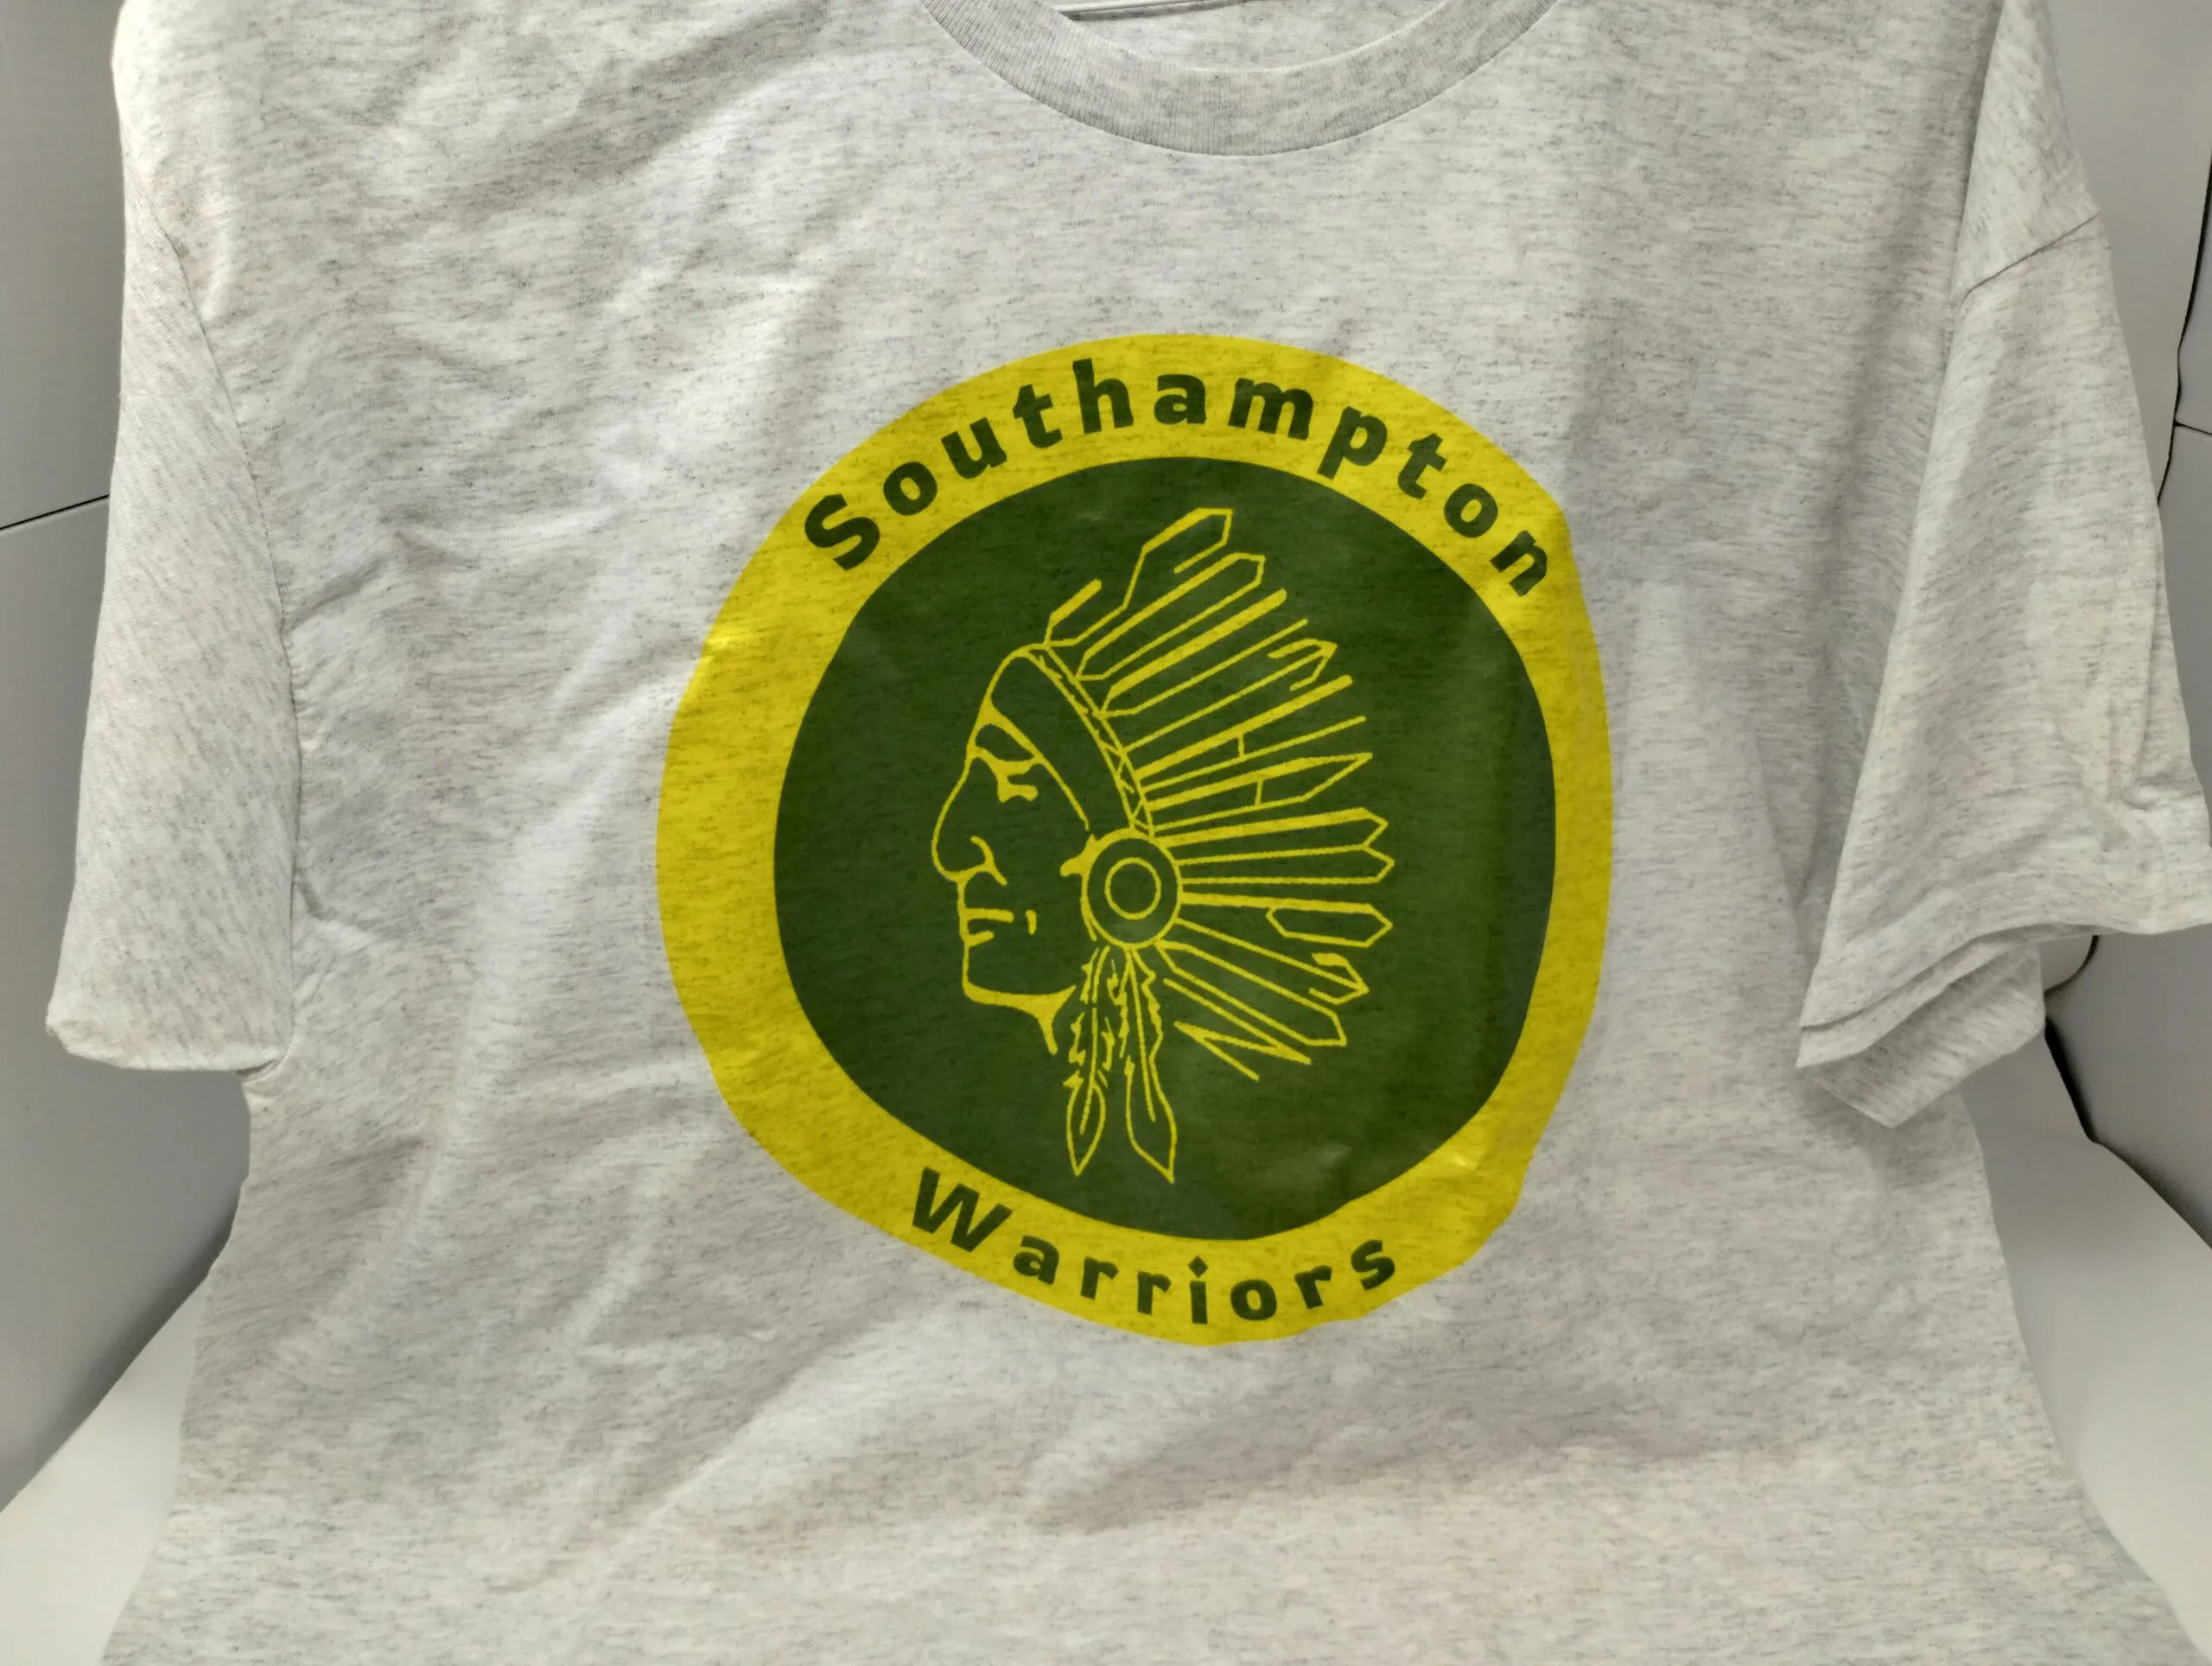
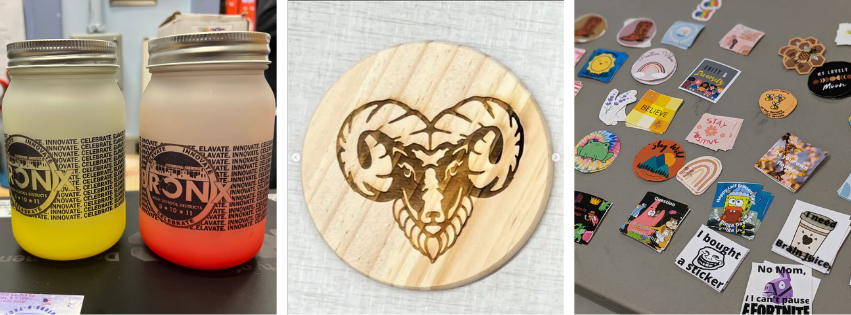
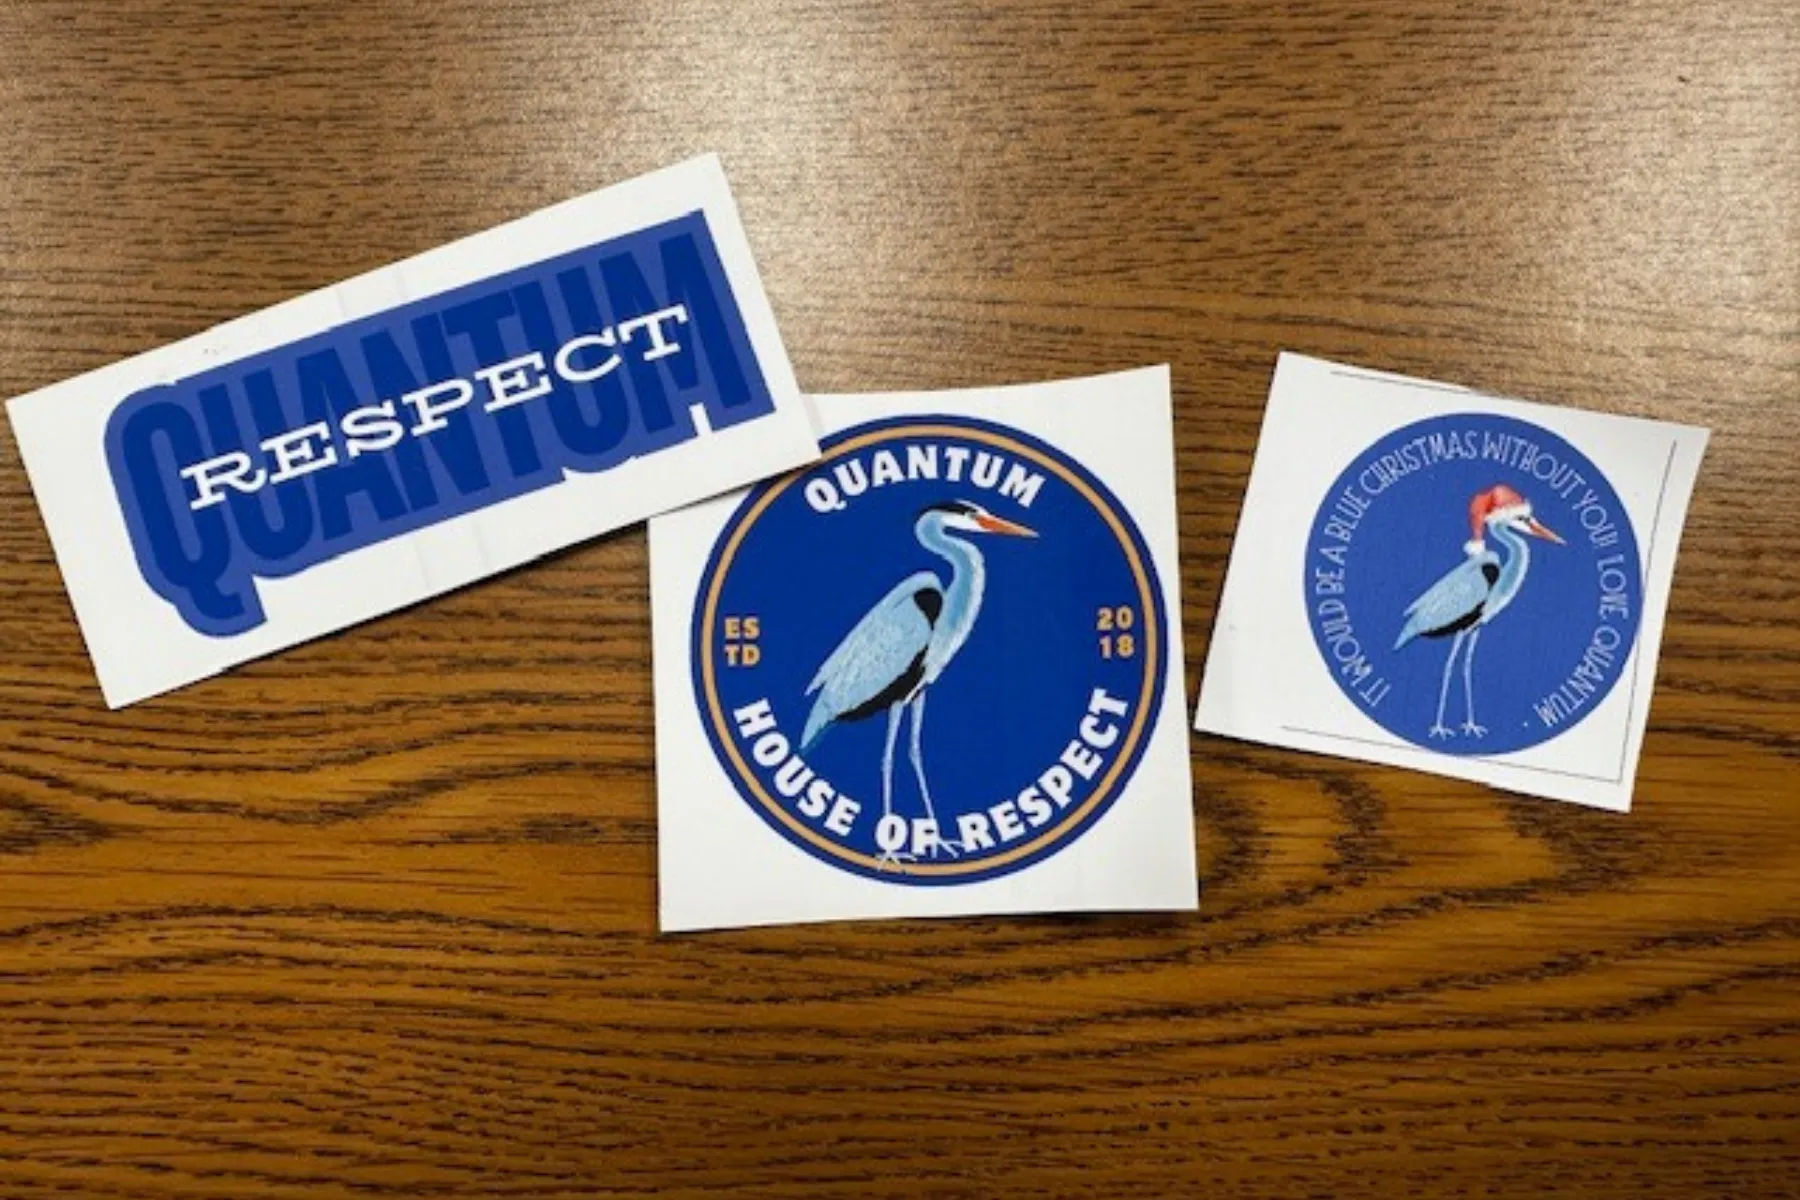
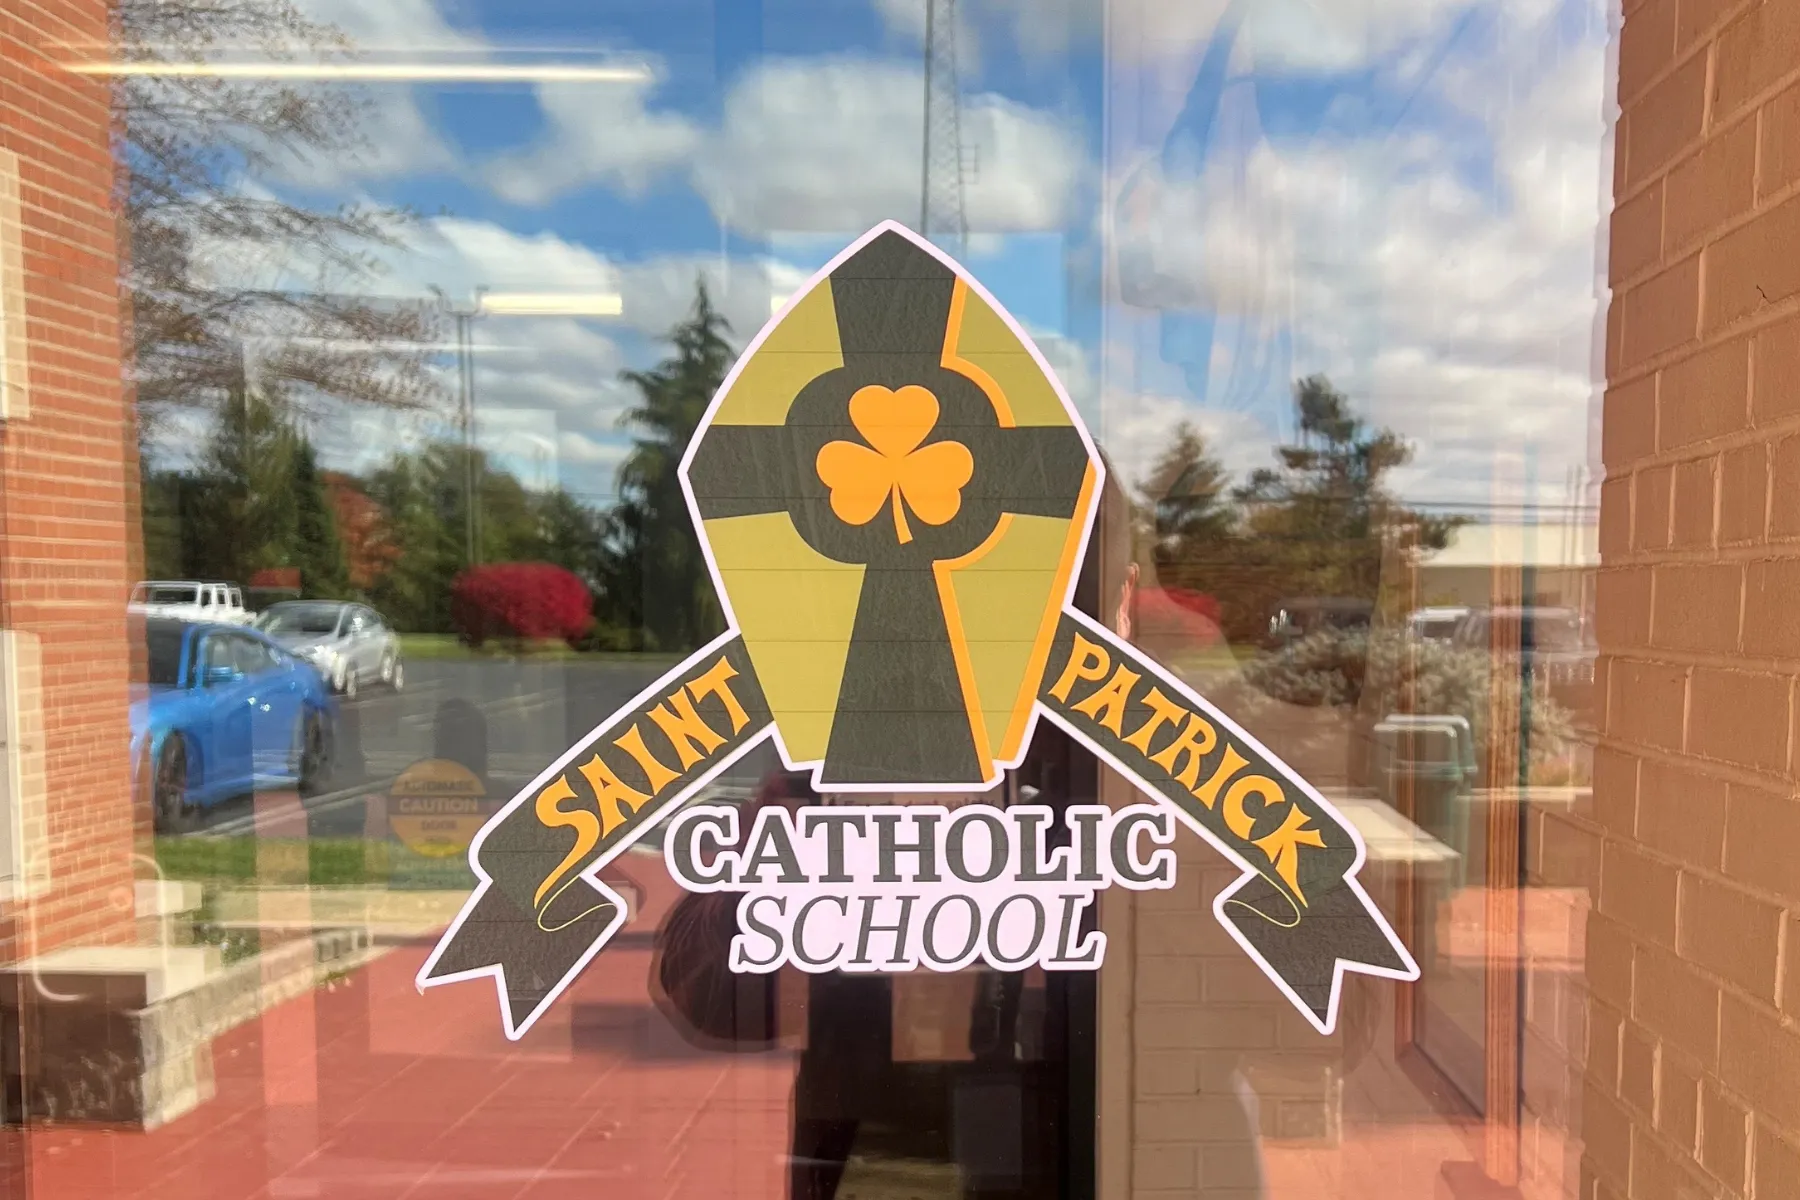
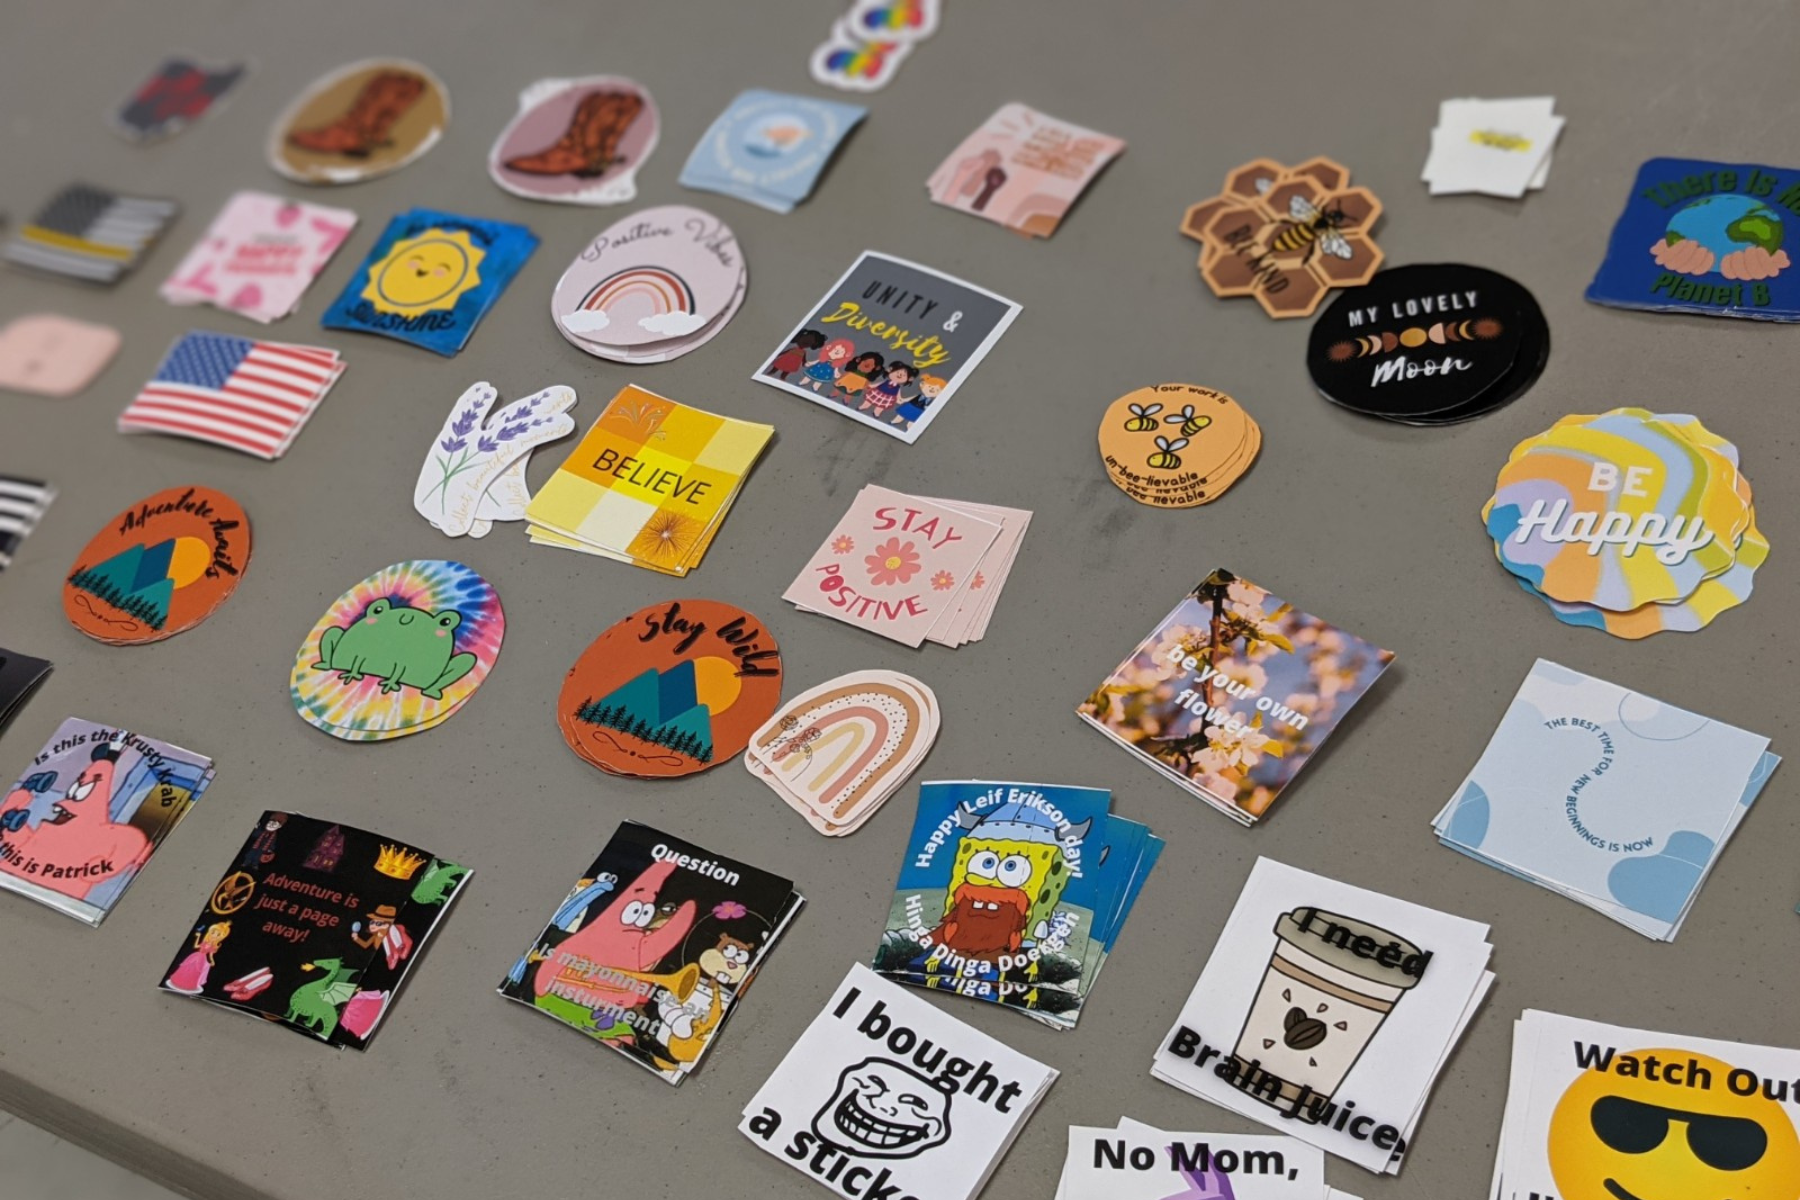
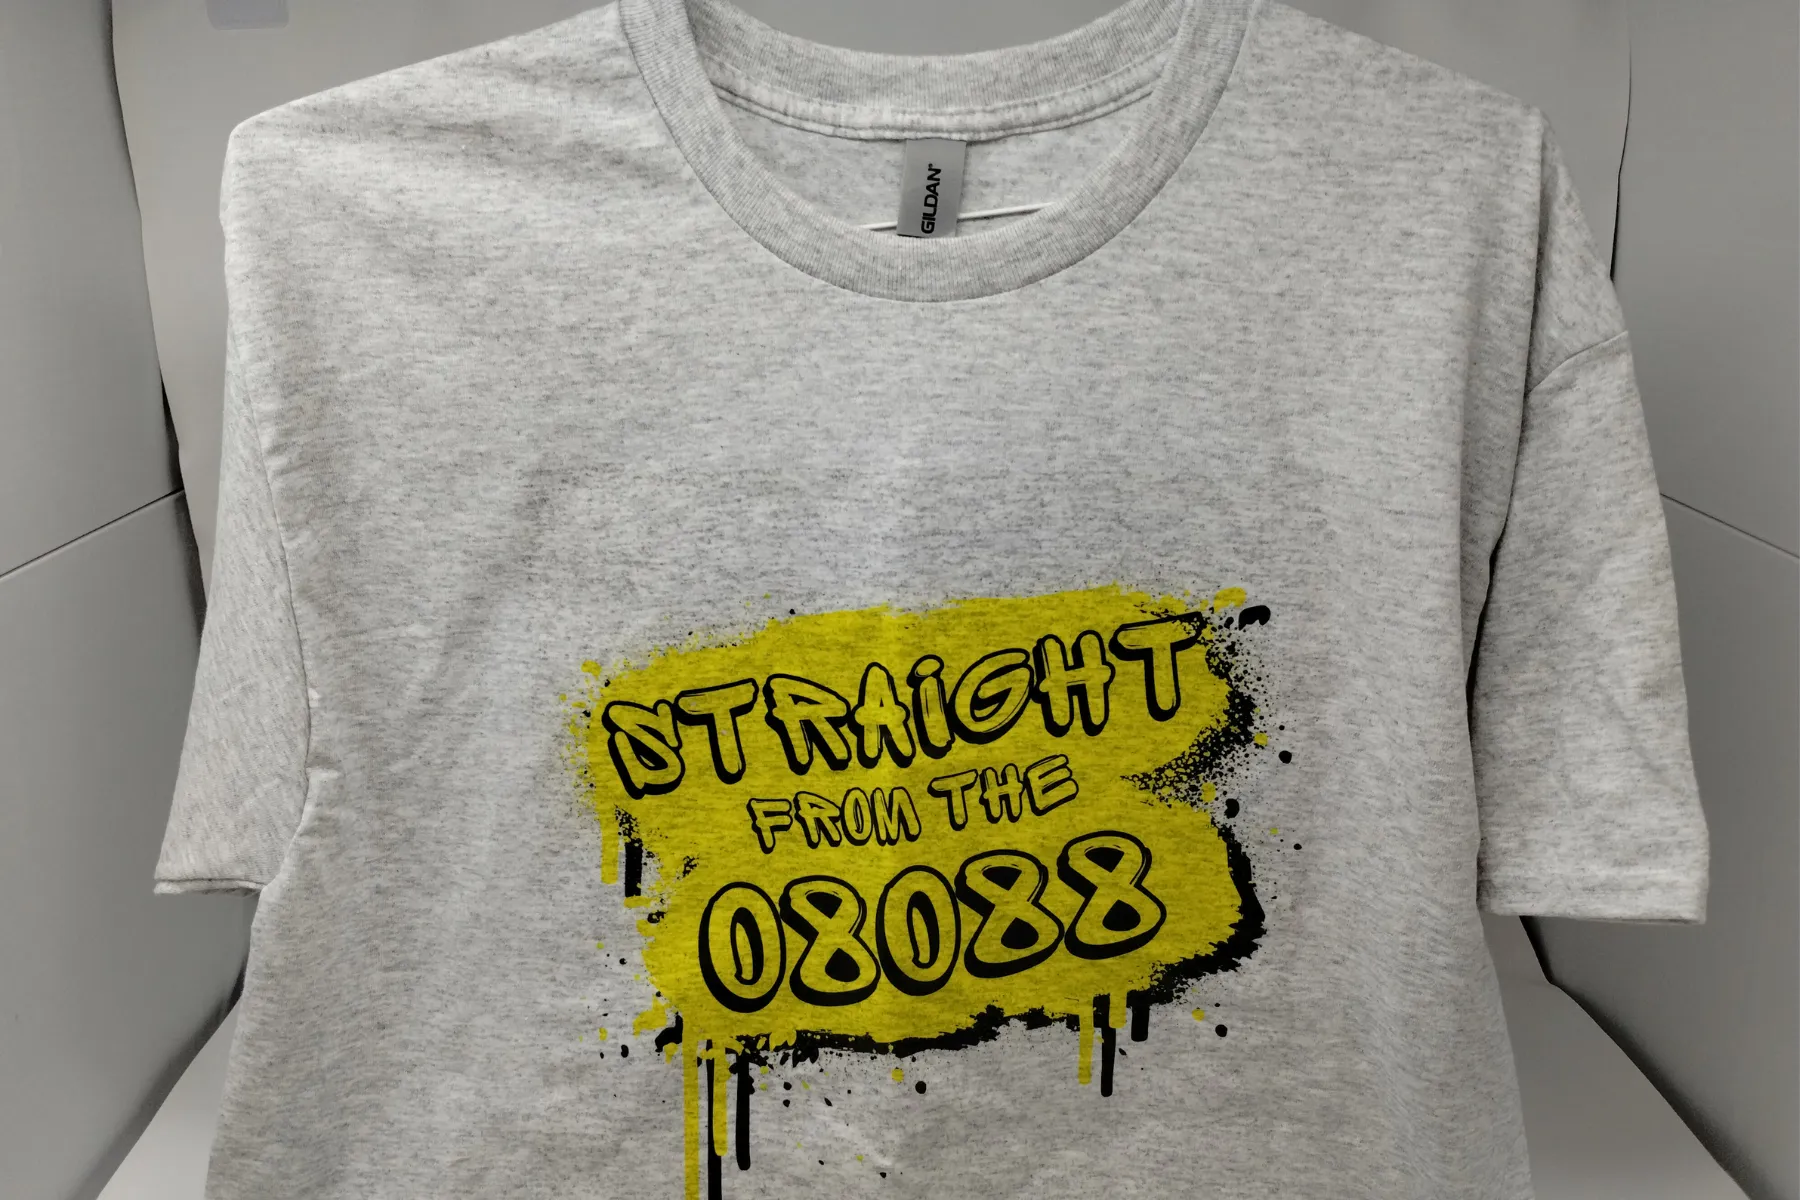
Vinyl Cutters for Custom Decals and Apparel
Vinyl cutters shine when students want to create small, personalized items. From laptop decals to car window stickers, this tool makes it easy to design and sell products that appeal to both peers and the wider community.
What Can Students Make with a Vinyl Cutter?
- Custom Stickers
- Car Decals
- T-Shirts and Spritwear
- Labels and Packaging
Starting Point: AGC’s Cut Out Studio Vinyl Cutter for Schools
AGC’s Cut Out Studio Vinyl Cutter lets students design and produce custom decals, stickers, and apparel with precision. Easy to use for beginners, it enables hands-on learning while students prepare products for school spirit items, fundraising, or student-led enterprises.

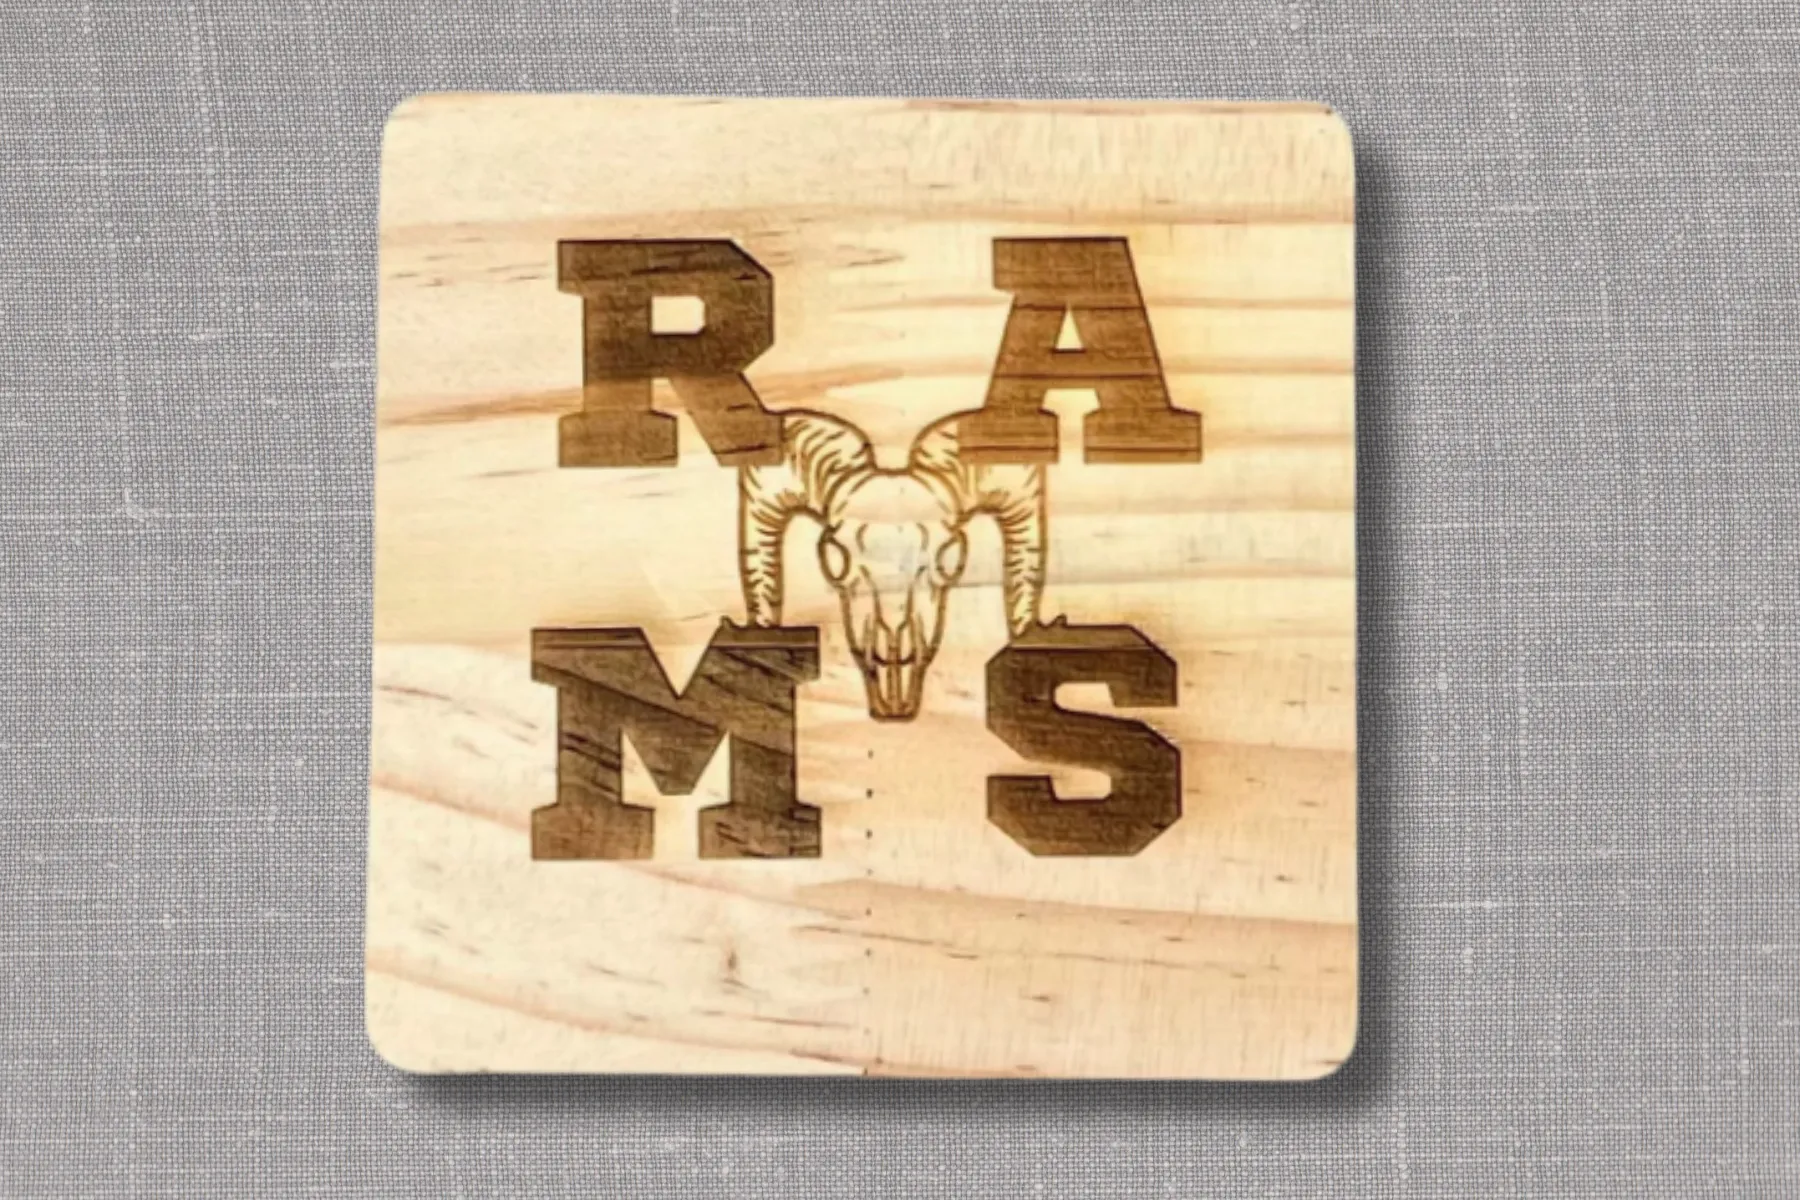
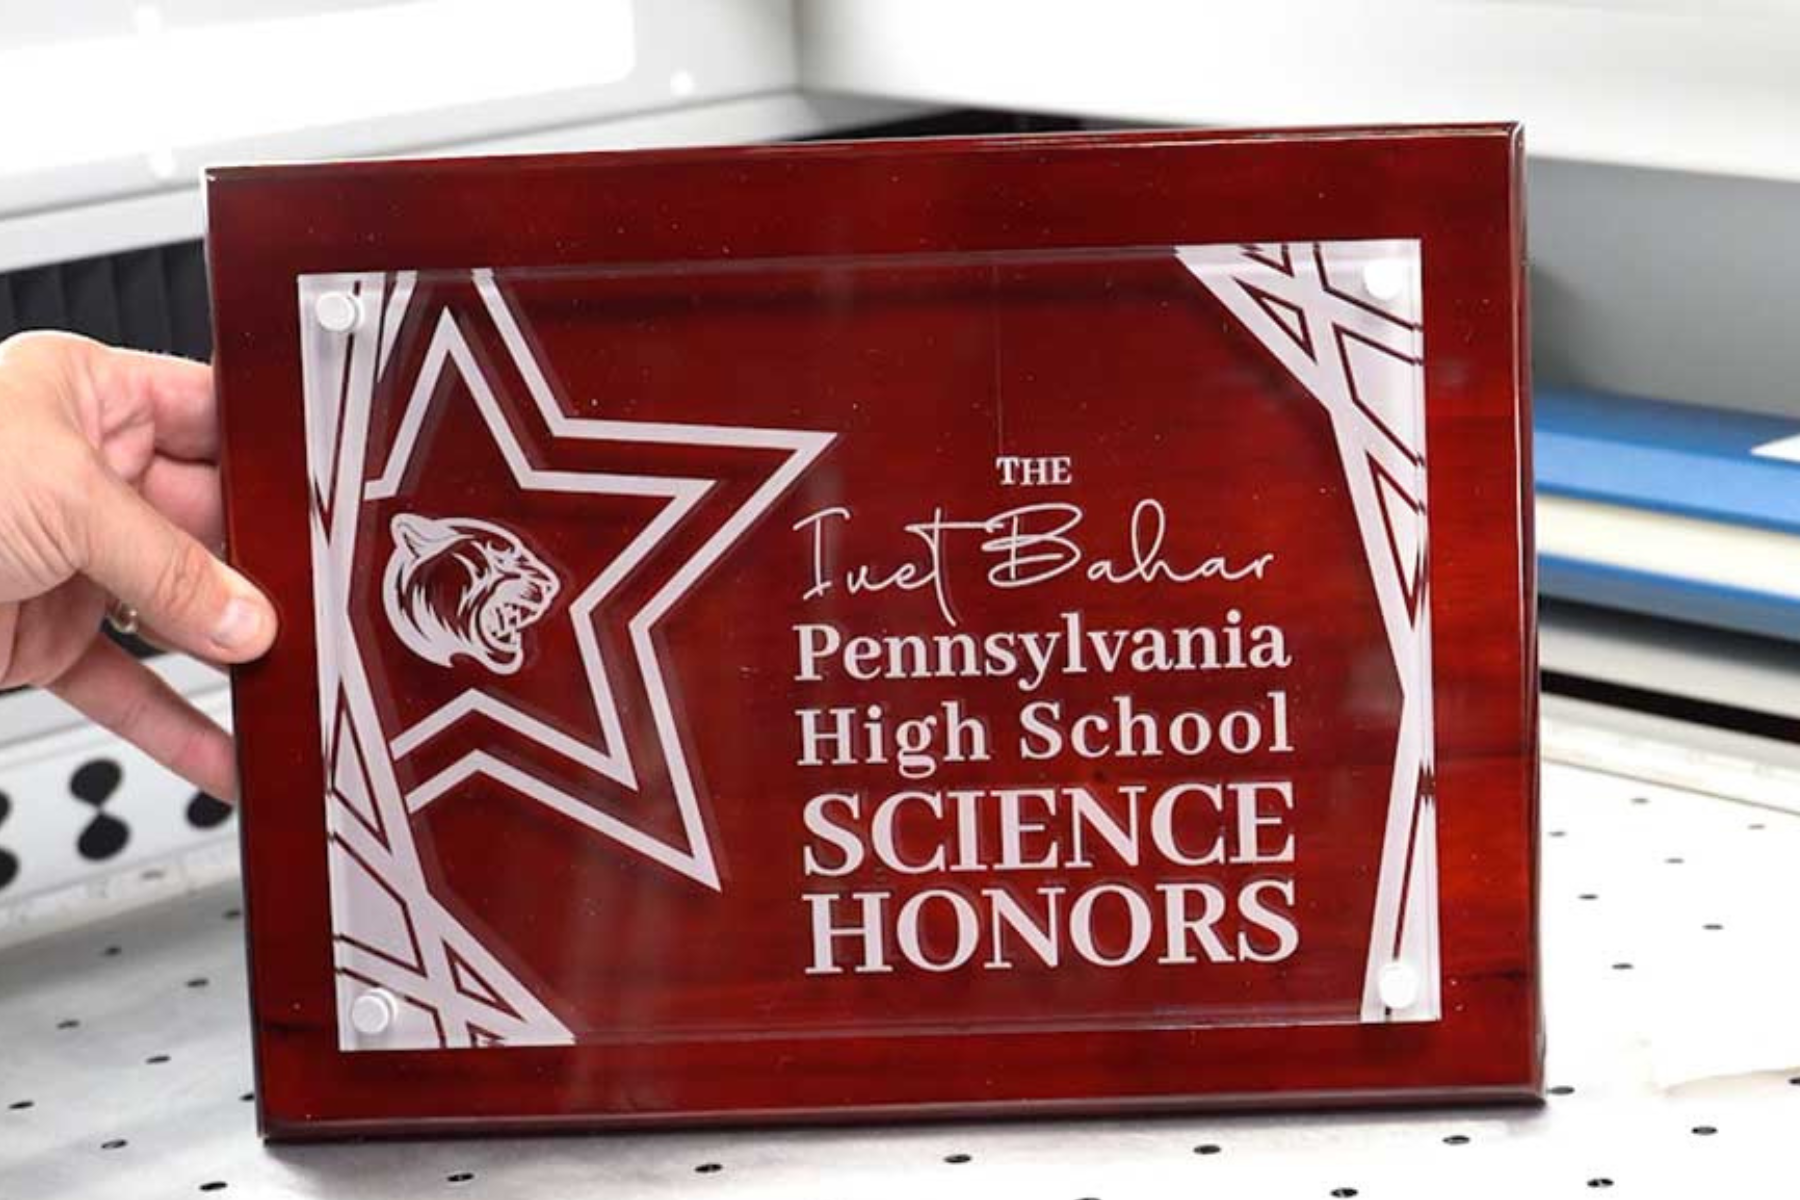
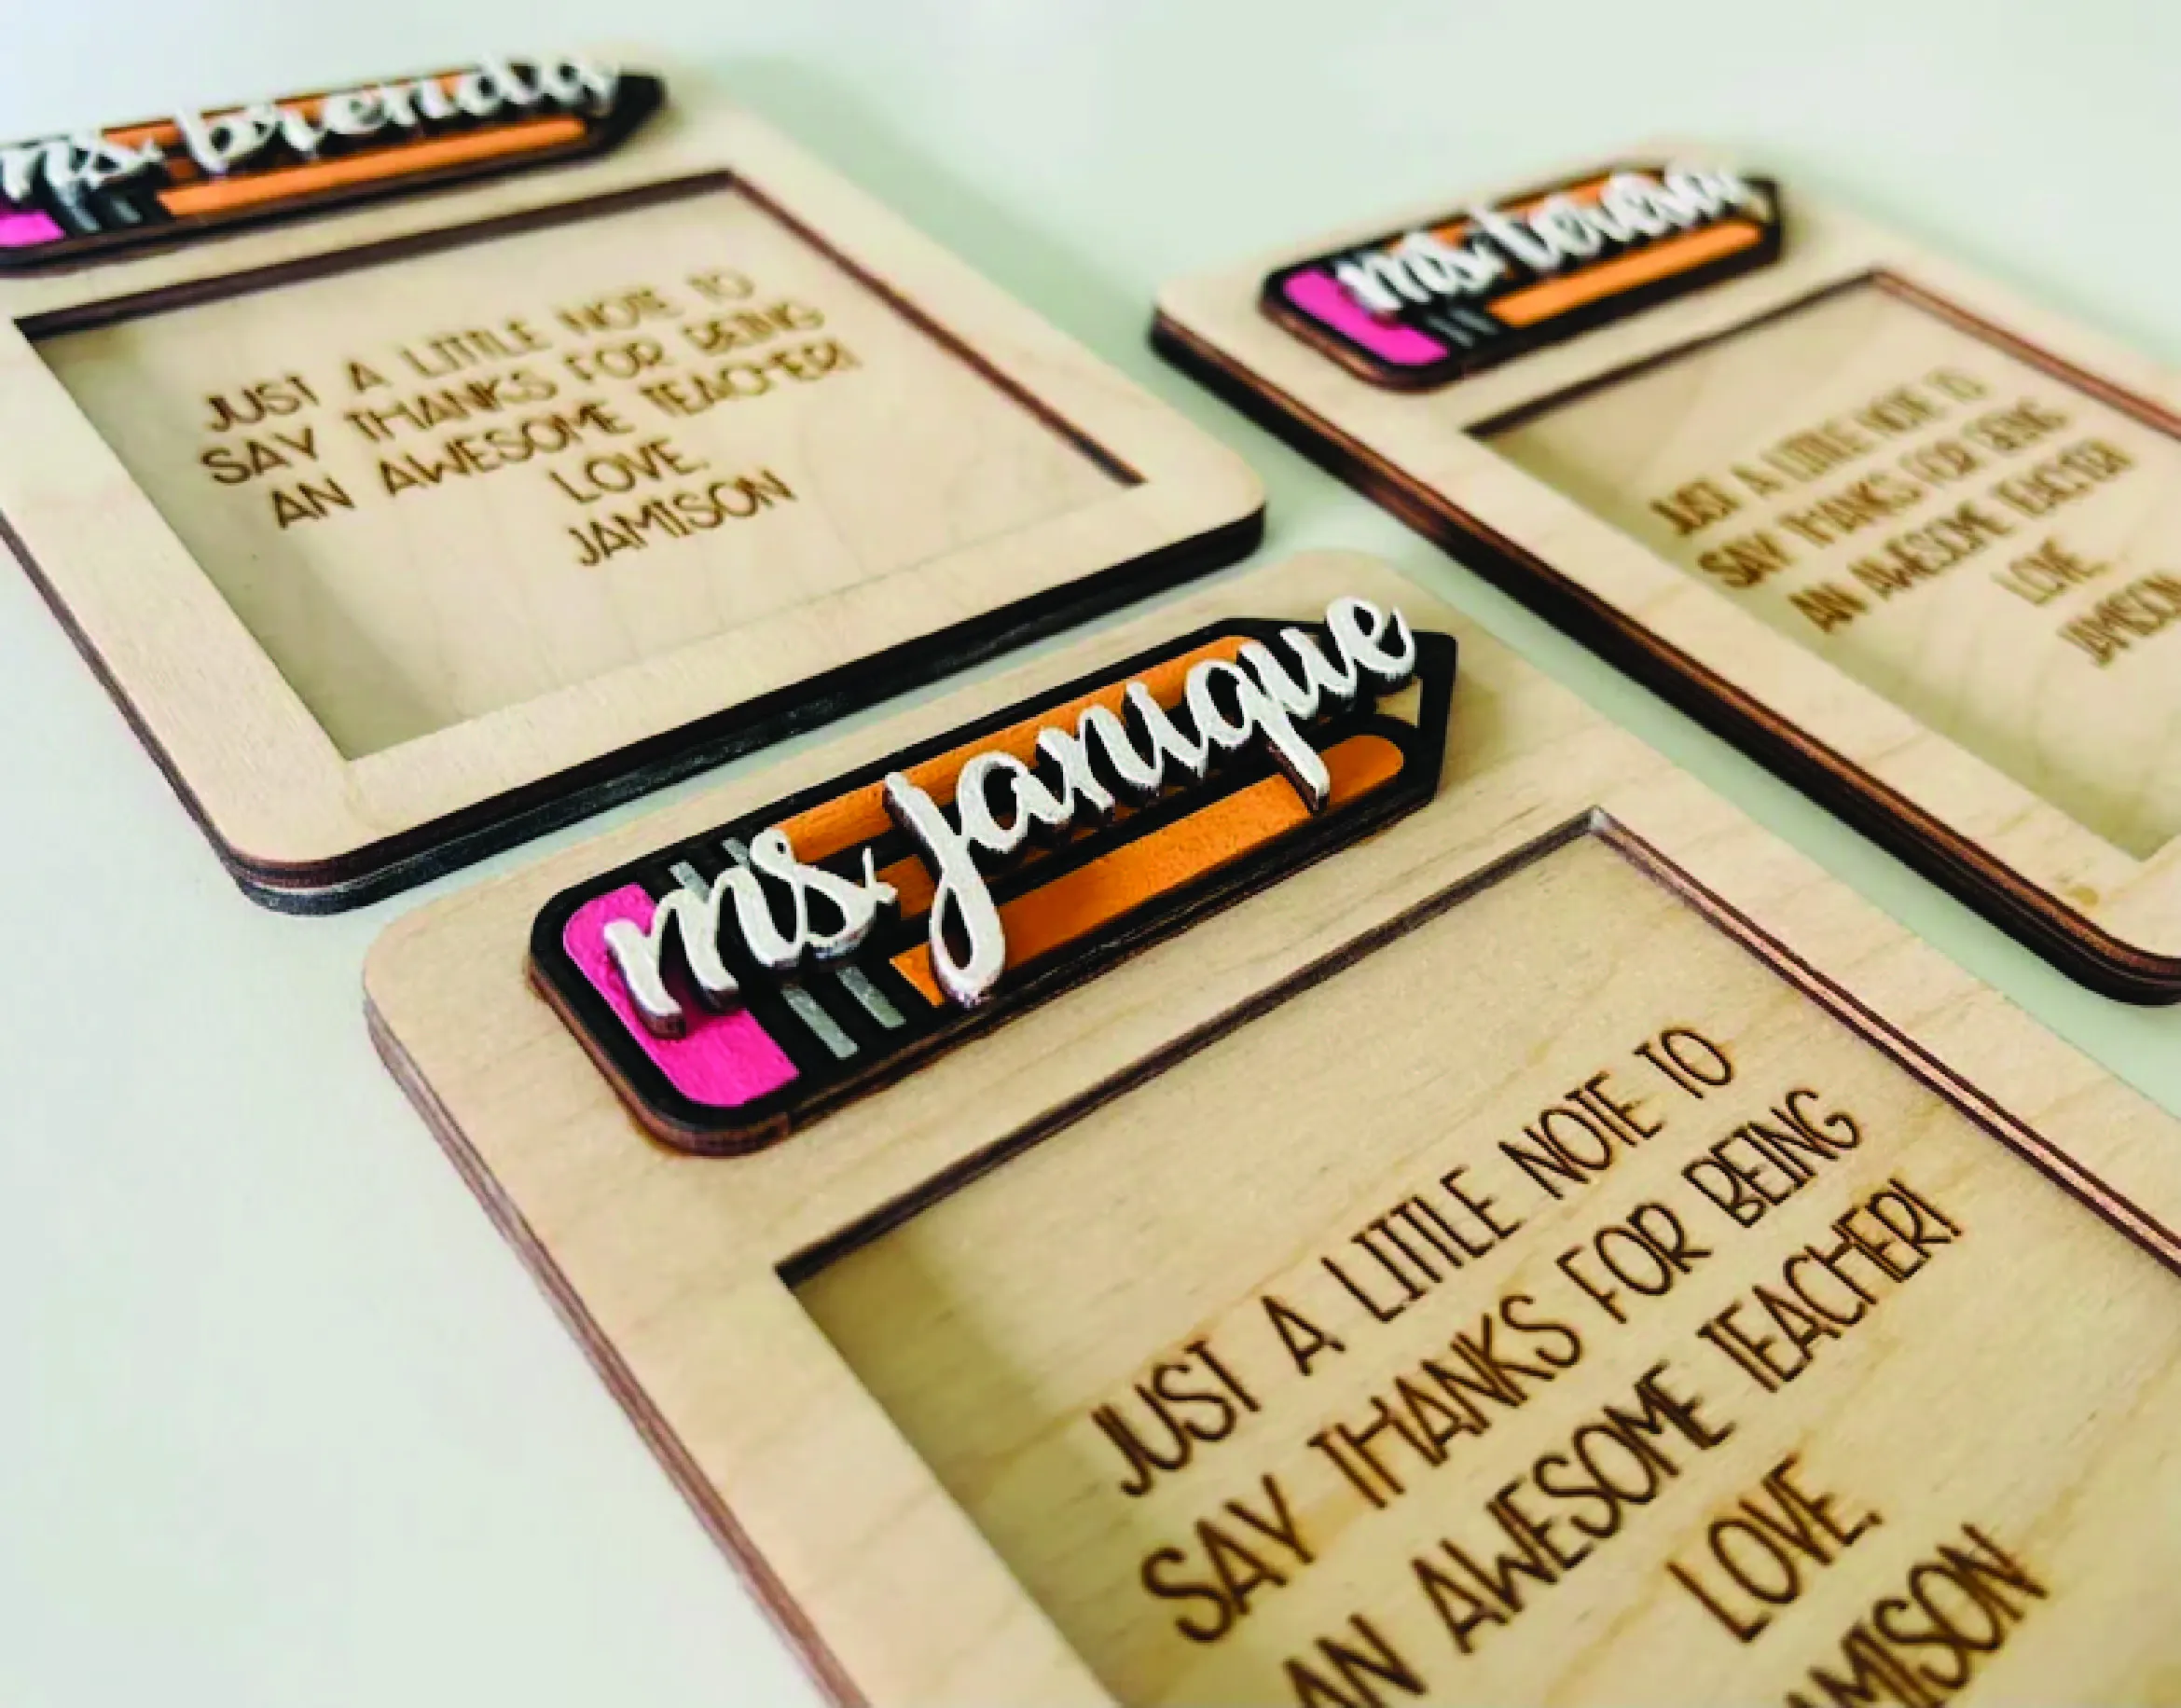
Laser Engravers for High-End Merchandise
Laser engravers allow students to add a high-end feel to everyday items. Think engraved water bottles, keychains, or trophies. This is a great fit if your program is aiming for a more polished, retail-quality product line.
What Can Students Make with a Laser Engraver?
- Personalized Gifts
- Awards and Recognition Items
- School Spirit Merchandise
Starting Point: AGC’s Laser Lab Engraver for Schools
AGC’s Laser Lab Engraver allows students to create personalized gifts, awards, and merchandise. Safe and user-friendly, it gives students professional-level engraving experience while supporting entrepreneurship and creative projects.
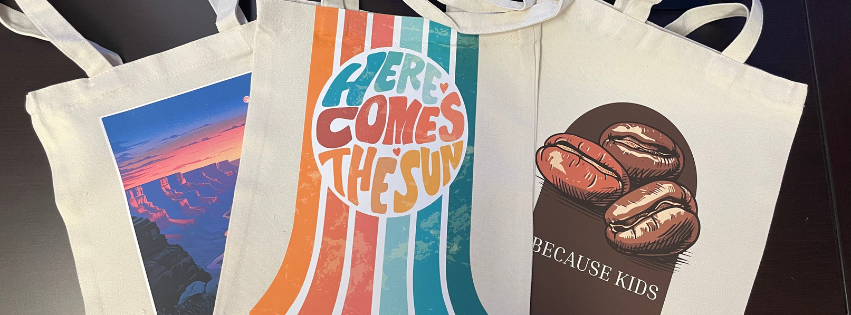
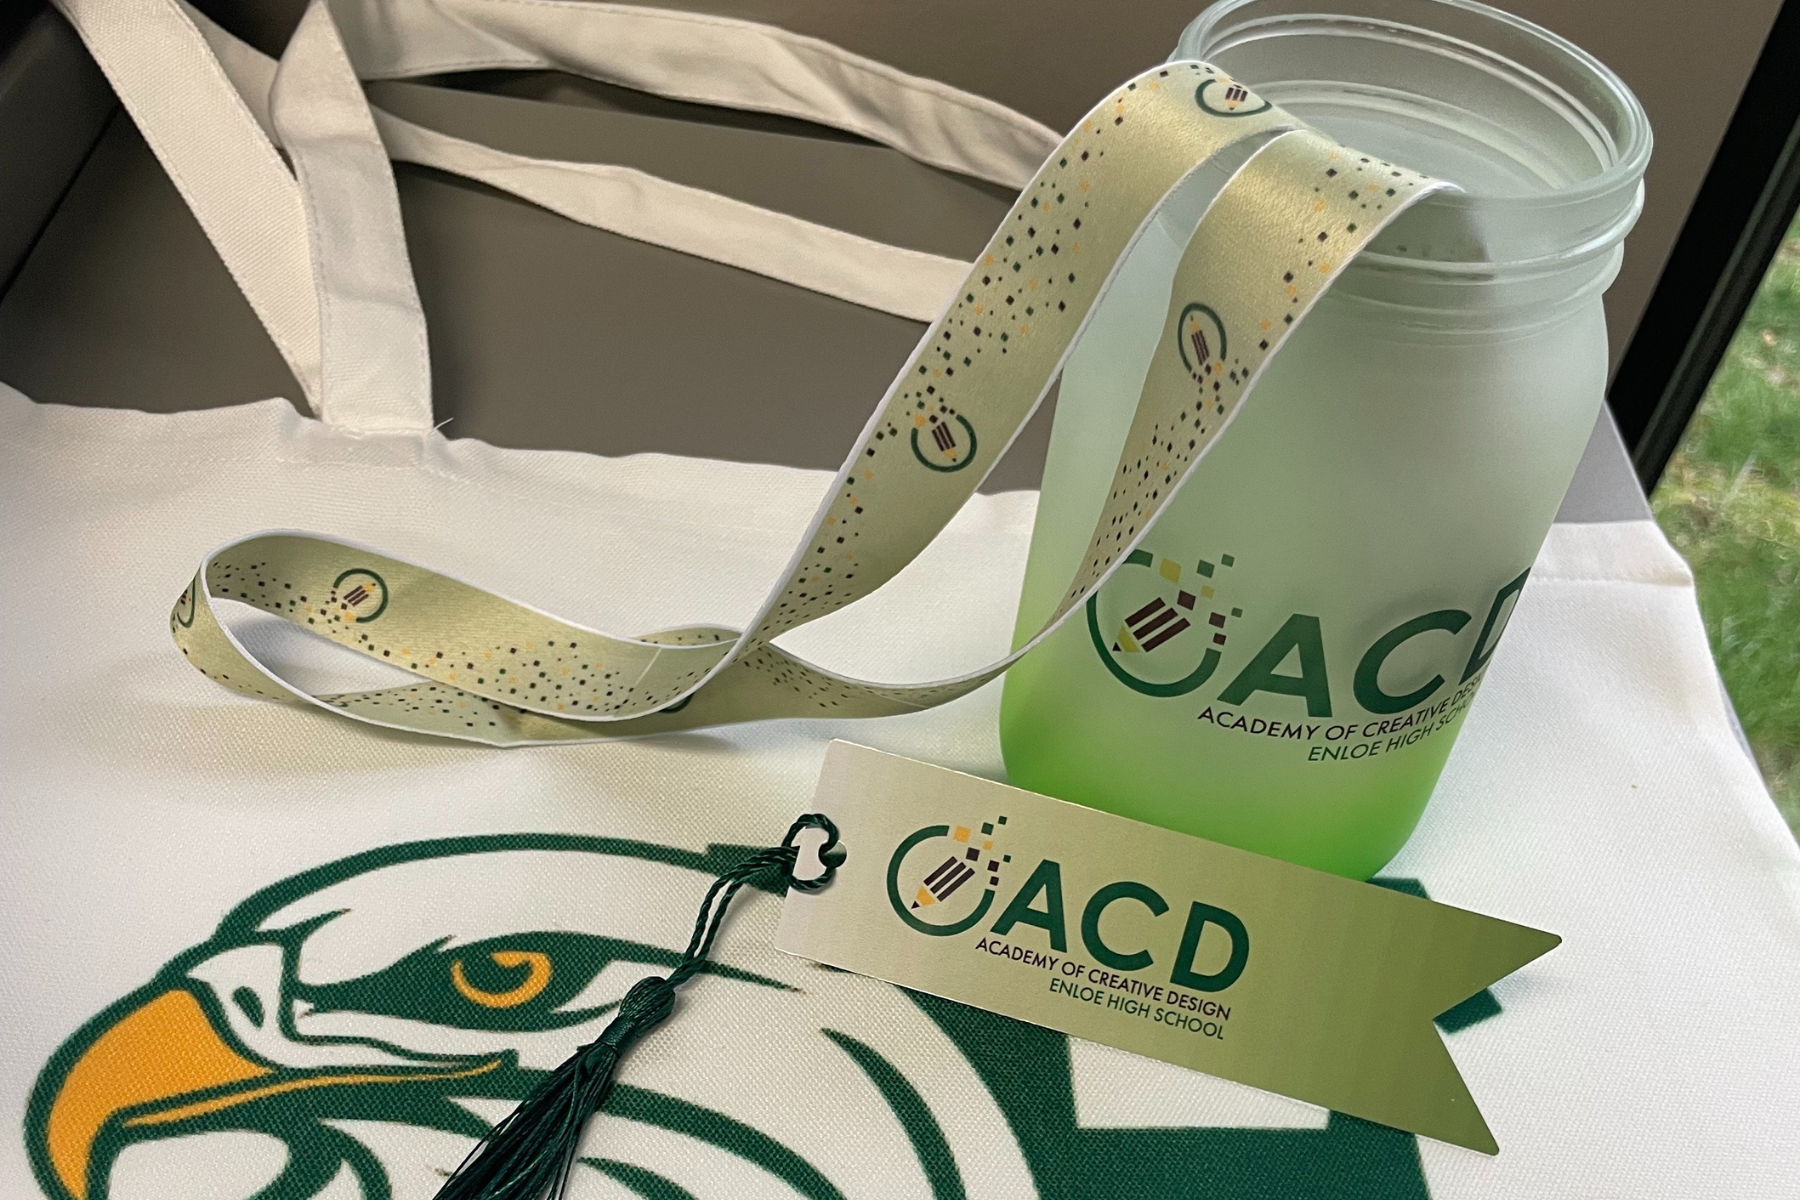
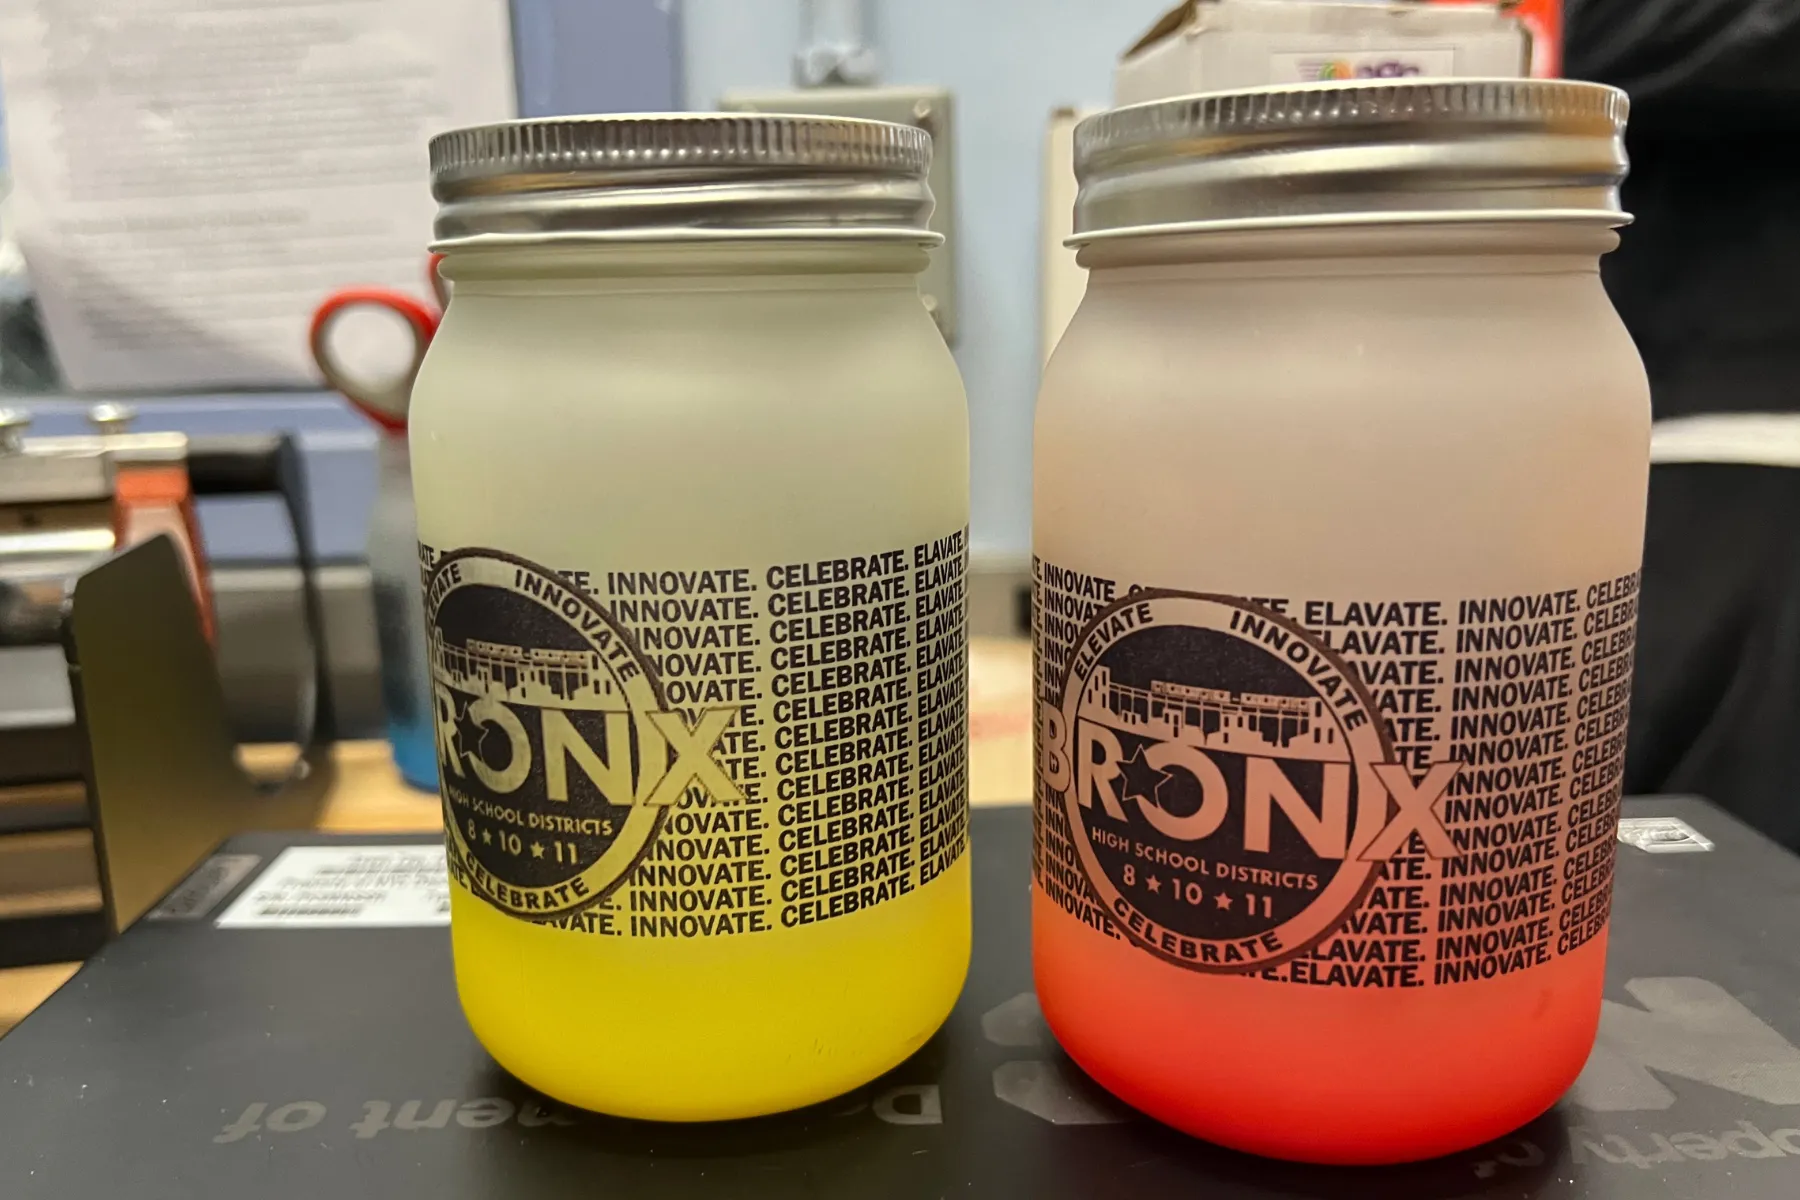
Sublimation Printers for Merchandise and Apparel
Sublimation printers open the door to custom apparel and gift items. T-shirts, mugs, and tote bags are all fair game, making this tool perfect for programs focused on spirit wear or community fundraising products.
What Can Students Make with a Sublimation Printer?
- Custom Mugs and Drinkware
- Apparel
- Personalized Gifts
- Home & Office Items
Starting Point: AGC’s Sublimation Station for Schools
AGC’s Sublimation Station Printer helps students produce high-quality merchandise like mugs, shirts, and ornaments. Its straightforward setup and reliable results make it ideal for teaching design and production skills in school-based business programs.

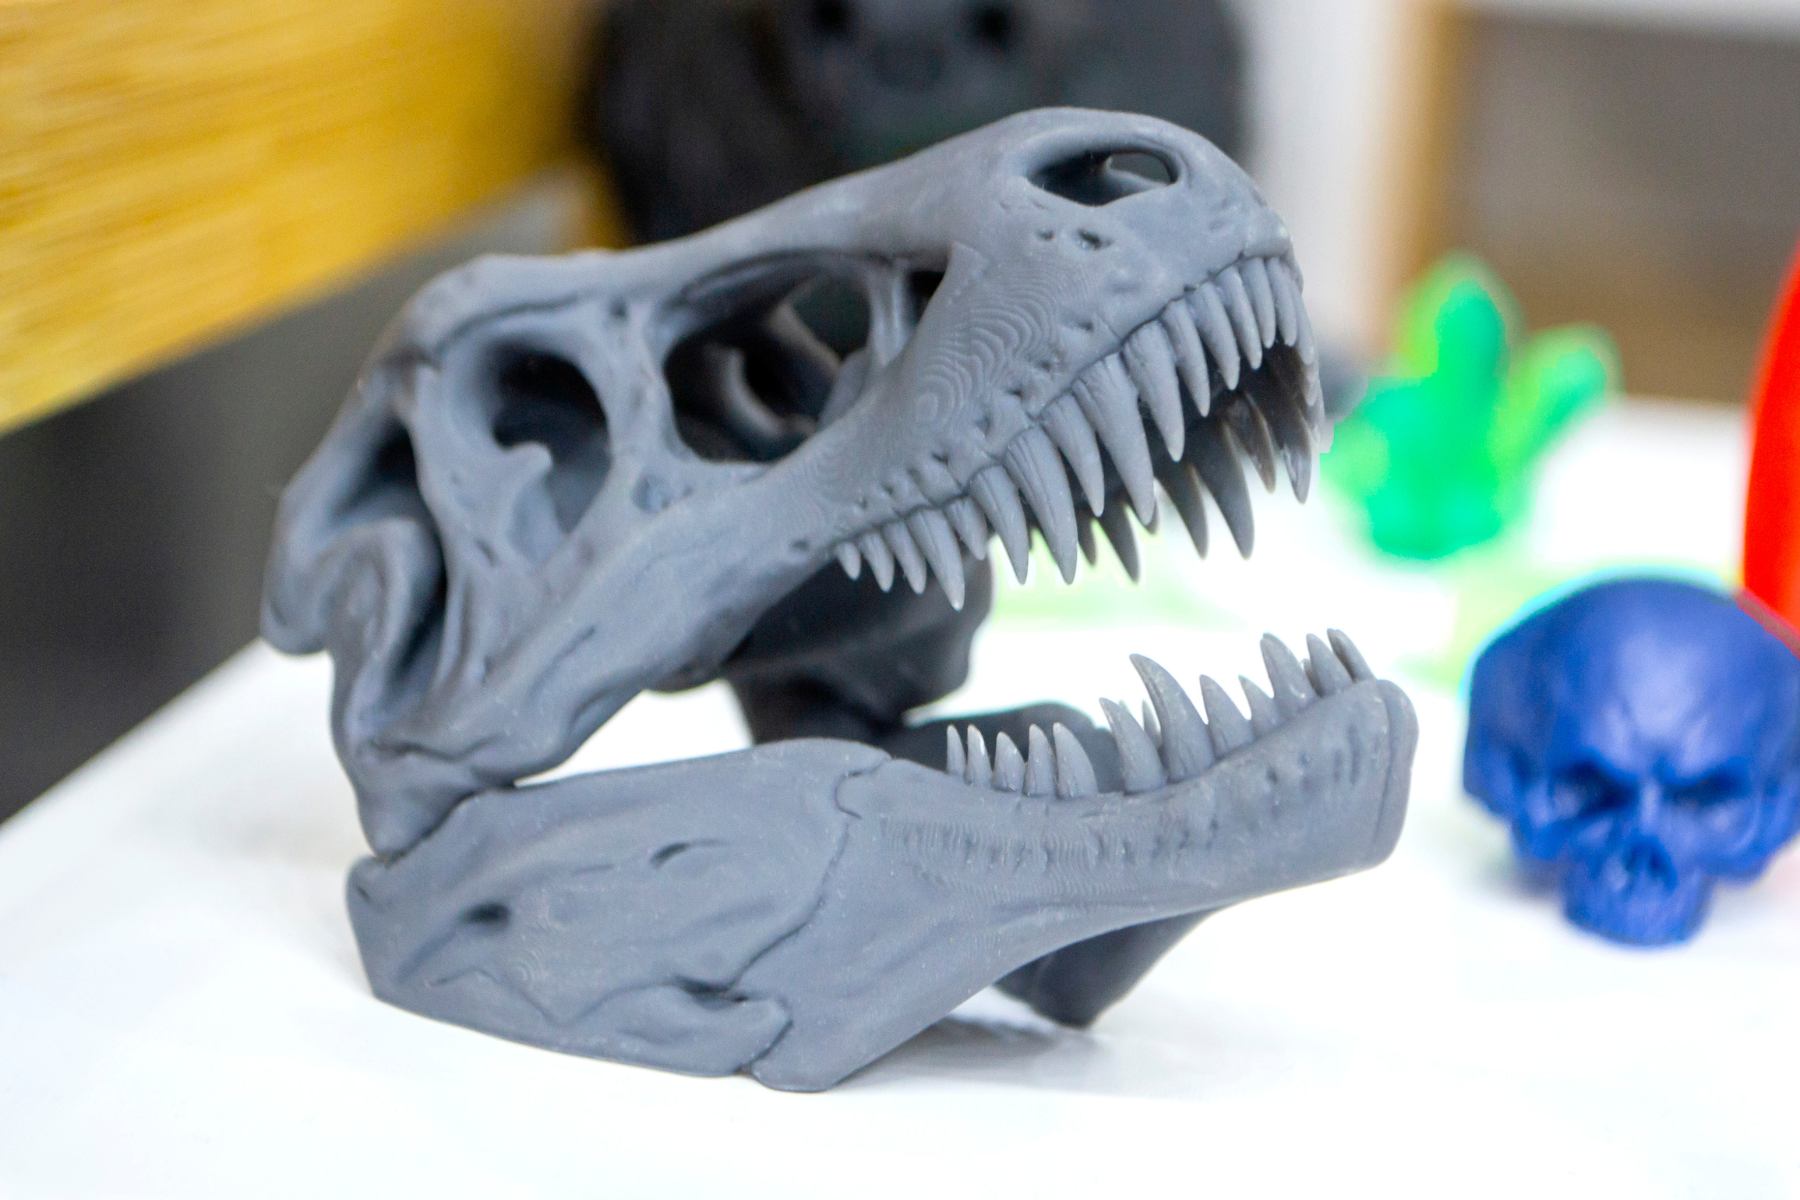
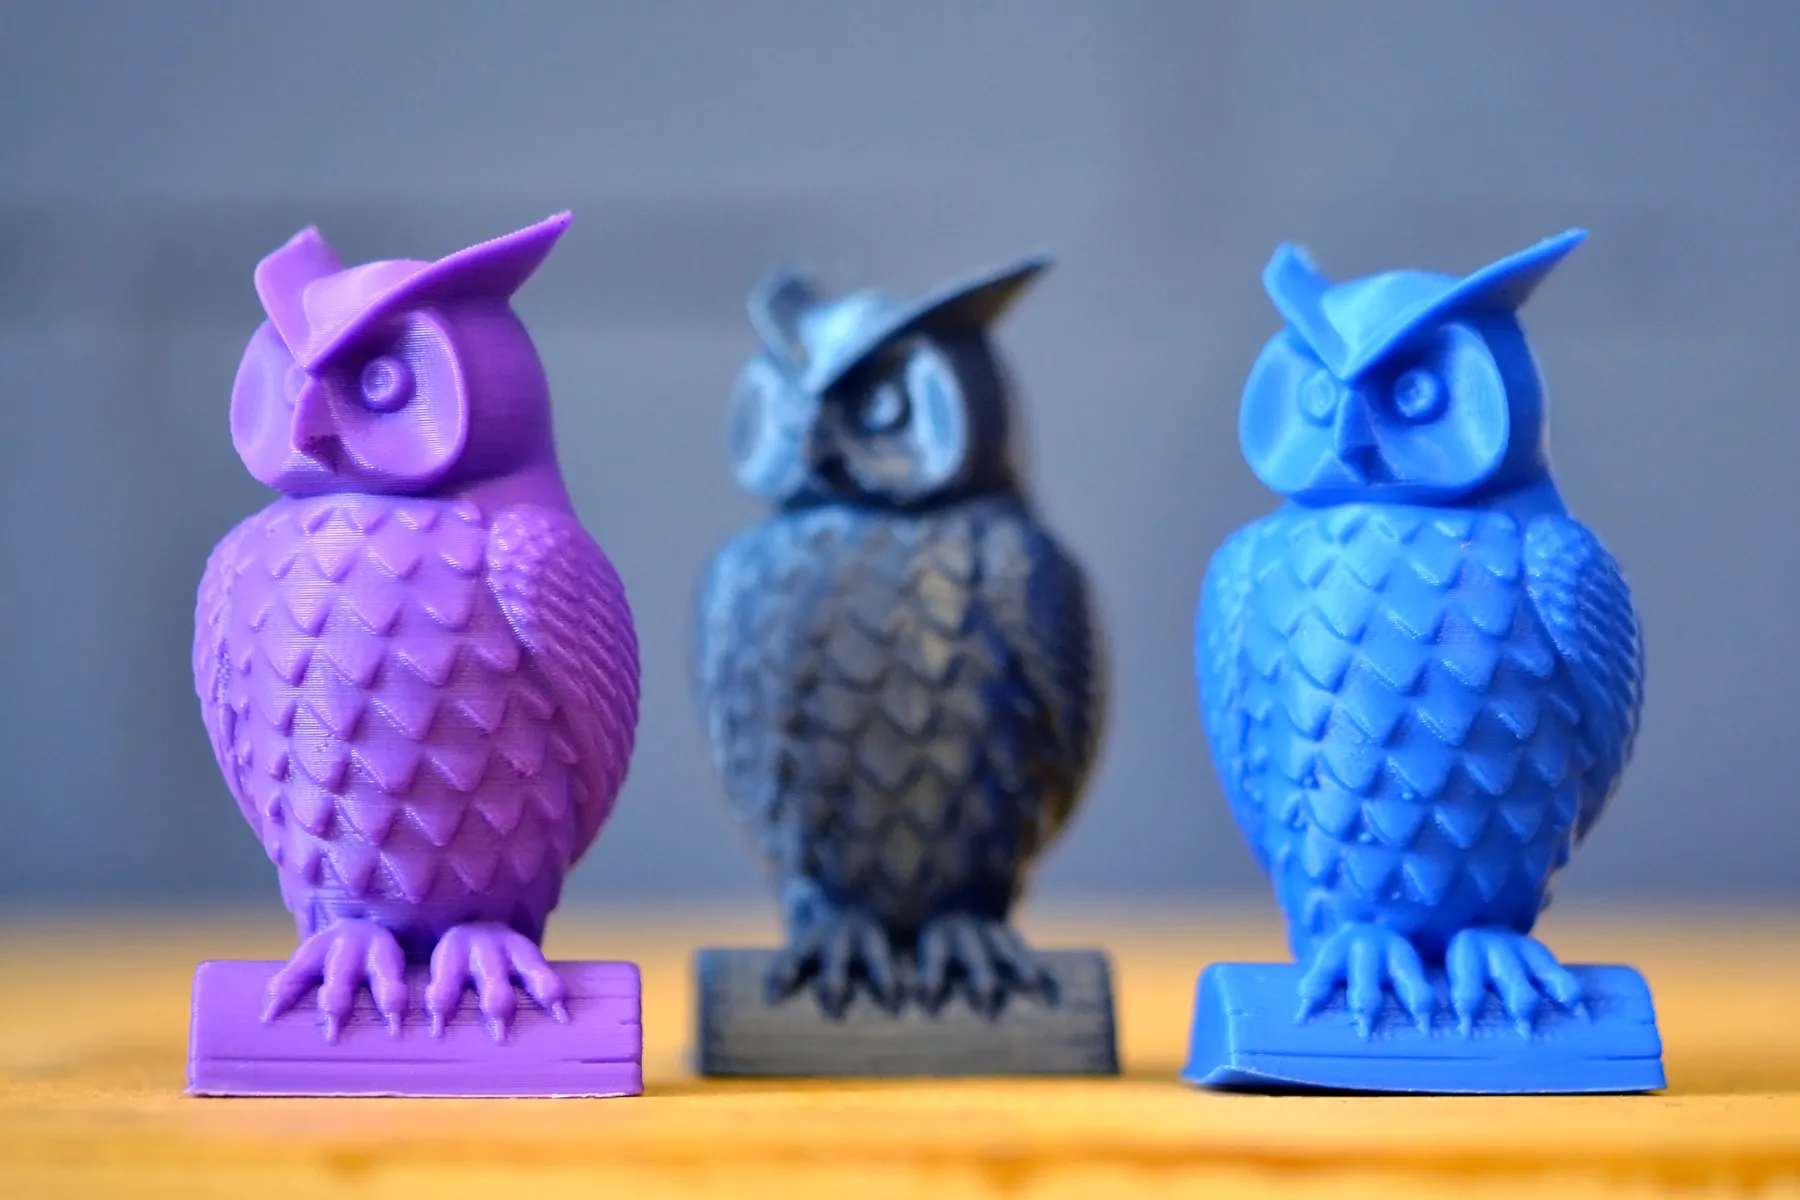
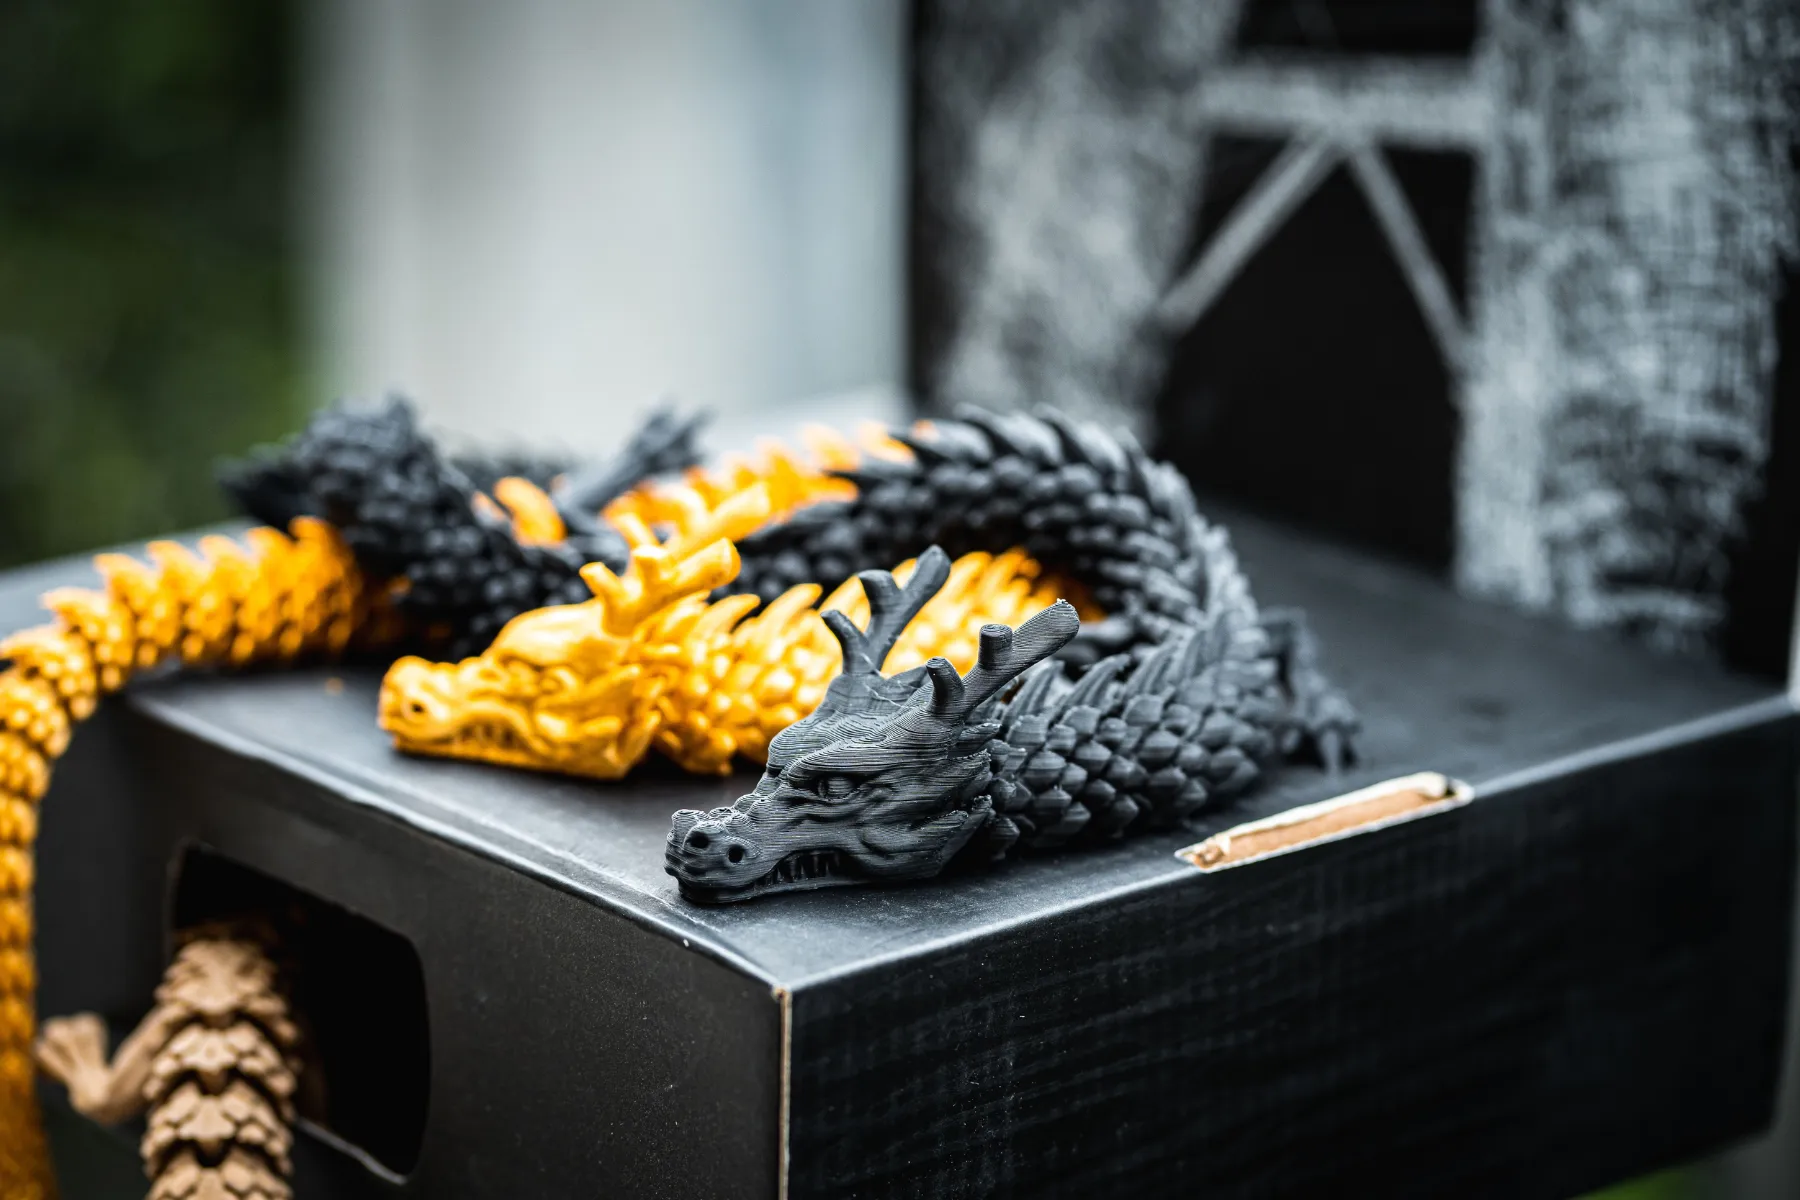
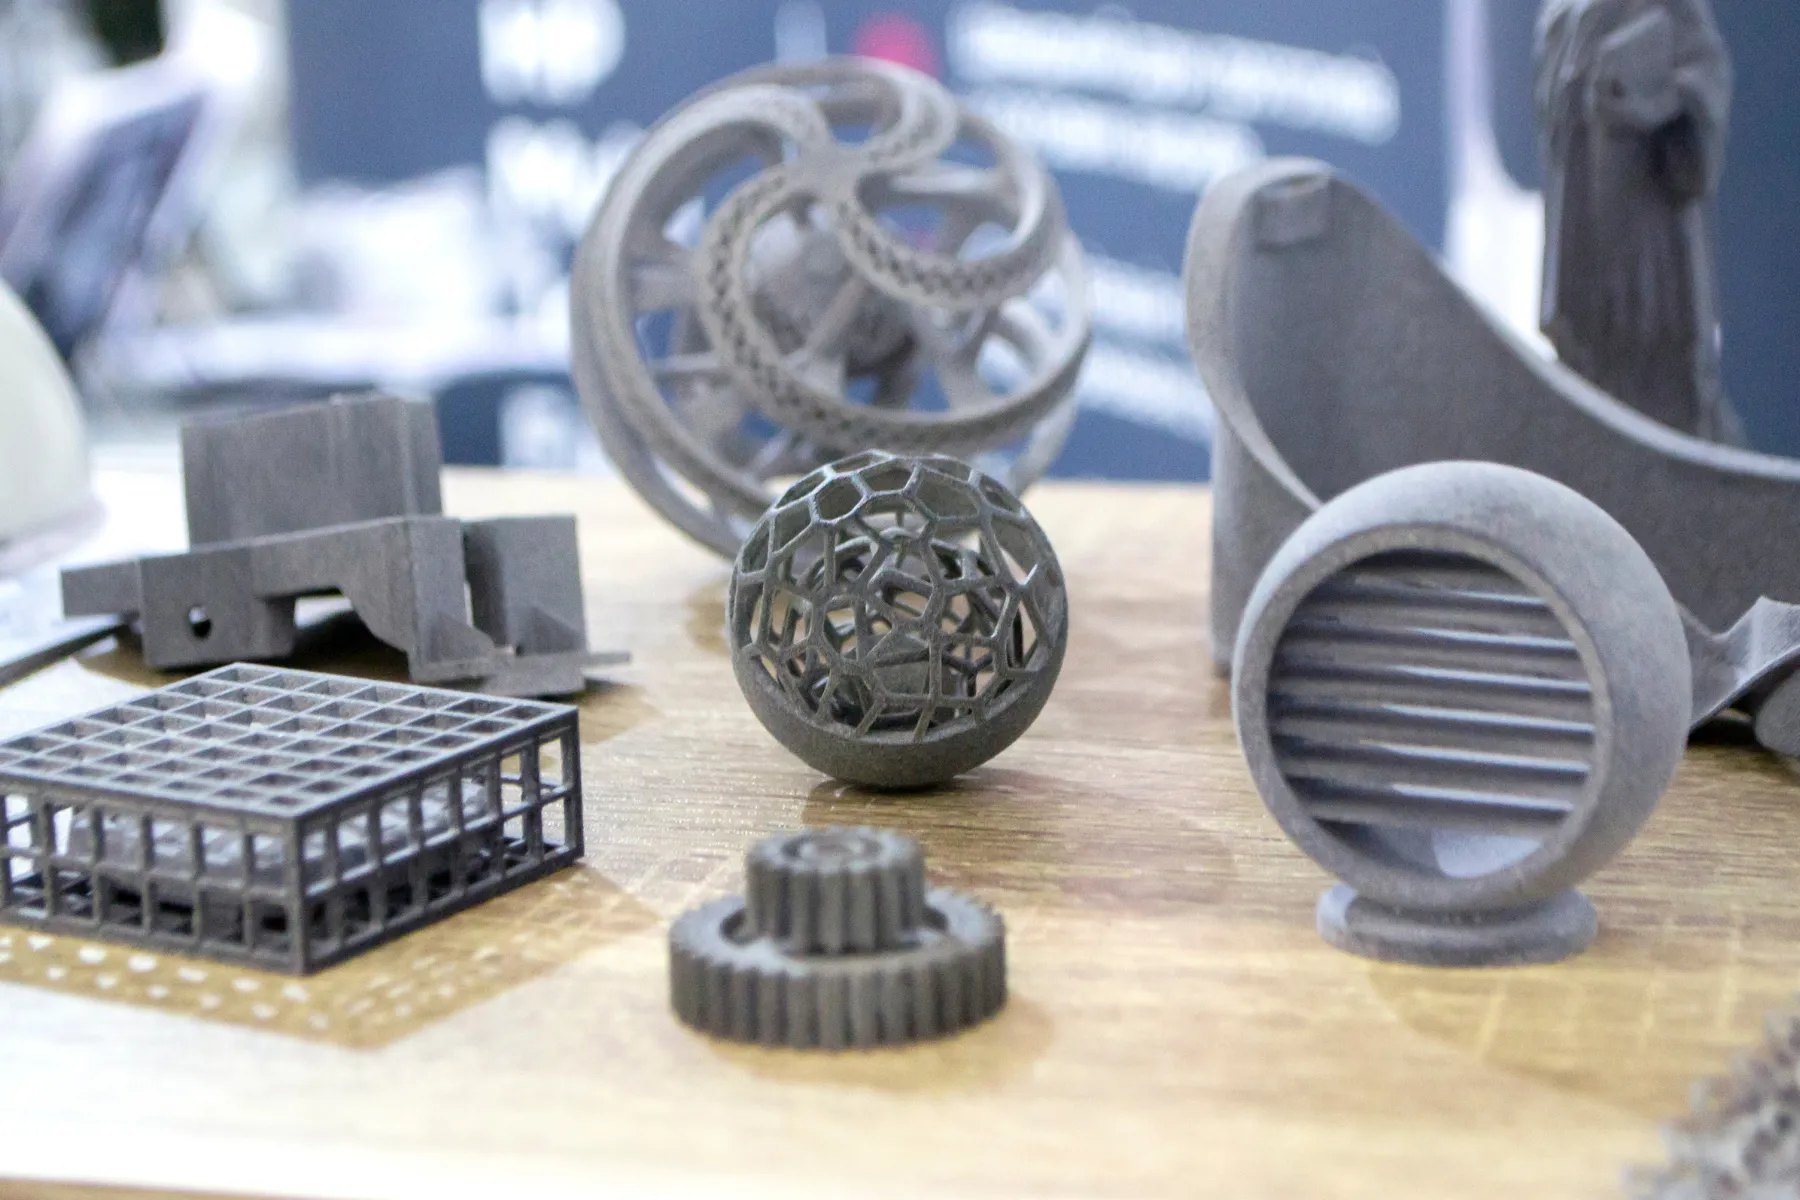
3D Printers for Prototyping and Custom Products
3D printers give students the power to design and build from scratch. Whether it’s prototyping inventions, making custom keychains, or producing replacement parts, this tech is ideal for schools emphasizing STEM and innovation alongside entrepreneurial education.
What Can Students Make with a 3D Printer?
- Prototyping Product Ideas
- Custom Merchandise
- STEM-Linked Products
Starting Point: AGC’s Imagin3D Printer for Schools
AGC’s Imagin3D Printer enables students to prototype and produce custom products such as keychains, figurines, or educational tools. Easy to learn and manage, it encourages creativity and problem-solving in school-based enterprises.
Comparing Technology for School-Based Enterprises
| Machine | Best For | Materials | Skill Level | Products | Business Types |
| Poster Printer | Signage, marketing materials | Paper, vinyl, window film, magnetic, and others | Beginner | Posters, banners, signage, print items | School print shops, event marketing services |
| Vinyl Cutter | Decals, stickers, custom apparel | Adhesive and heat transfer vinyl materials | Beginner – Intermediate | Stickers, t-shirts, tote bags | Spirit wear, custom merch, fundraising |
| Laser Engraver | Personalized & engraved products | Wood, acrylic, metal, glass, and others | Intermediate | Plaques, keychains, trophies | Gifts, school awards, online merch shops |
| Sublimation Printer | High-quality, personalized merchandise | Apparel, mugs, metal, ceramics, and others | Intermediate | Shirts, mugs, ornaments | Spirit merch, seasonal products, print-on-demand |
| 3D Printer | Prototypes, STEM-linked products | PLA, ABS, resin, other plastics | Intermediate | Figurines, models, tools | STEM products, prototyping, custom goods |
Supporting School-Based Enterprises with EmpowR Academy
Step-by-Step Program Guidance
EmpowR Academy provides teachers with structured resources for running school-based enterprise programs. From selecting products to teaching business concepts, we help educators set up sustainable programs.
Ongoing Support for Educators and Students
EmpowR Academy supports schools throughout implementation, helping with troubleshooting, scaling programs, and integrating lessons into existing curricula.
Student Certification Opportunities
EmpowR Academy’s student certification programs give students a way to show what they’ve learned. They turn hands-on experience in design, production, marketing, and business management into credentials that students can include on resumes, portfolios, or college applications.
Educator Partnership
The EmpowR Academy team works directly with educators to ensure school-based enterprises are successful and adaptable to different school contexts. This partnership makes student entrepreneurship in schools sustainable, effective, and engaging.
Getting Started with School-Based Entrepreneurship in Your Classroom
Launching a school-based enterprise can feel overwhelming, but small steps make a big difference:
- Start Small: Pilot a single product or project before expanding.
- Match Tech to Goals: Use the comparison table to select the best tools for your program.
- Incorporate Certification: Offer student credentials to increase engagement and provide real-world recognition.
- Leverage Support: Use EmpowR Academy resources to guide implementation and keep programs on track.
Conclusion
School-based enterprises blend creativity, leadership, and business skills in ways few classroom experiences can match. By selecting the right technology and leveraging resources from AGC’s EmpowR Academy, schools can create programs that are both successful and sustainable.
Start small, choose tools that fit your students’ ideas, and let EmpowR help every step of the way. Your students can turn their ideas into thriving school-based businesses – and gain skills that last a lifetime.