


How to Make Stickers with Your Poster Printer
Looking for a creative new way to use your poster printer? Try turning your designs into custom stickers. With just a few simple steps, you can print vibrant, full-color stickers on adhesive vinyl – perfect for PBIS rewards, fundraisers, or student projects.
In this guide, we’ll walk through how to design, print, and cut stickers using your Educator Plus Poster Printer and Cut Out Studio Vinyl Cutter. Even if you don’t have a cutter, you can still print stickers and cut them out manually – so anyone can try this project.
Why Make Stickers with a Poster Printer?
Poster printers aren’t just for wall displays – they’re creative powerhouses. By printing on adhesive vinyl instead of standard paper, you can make:
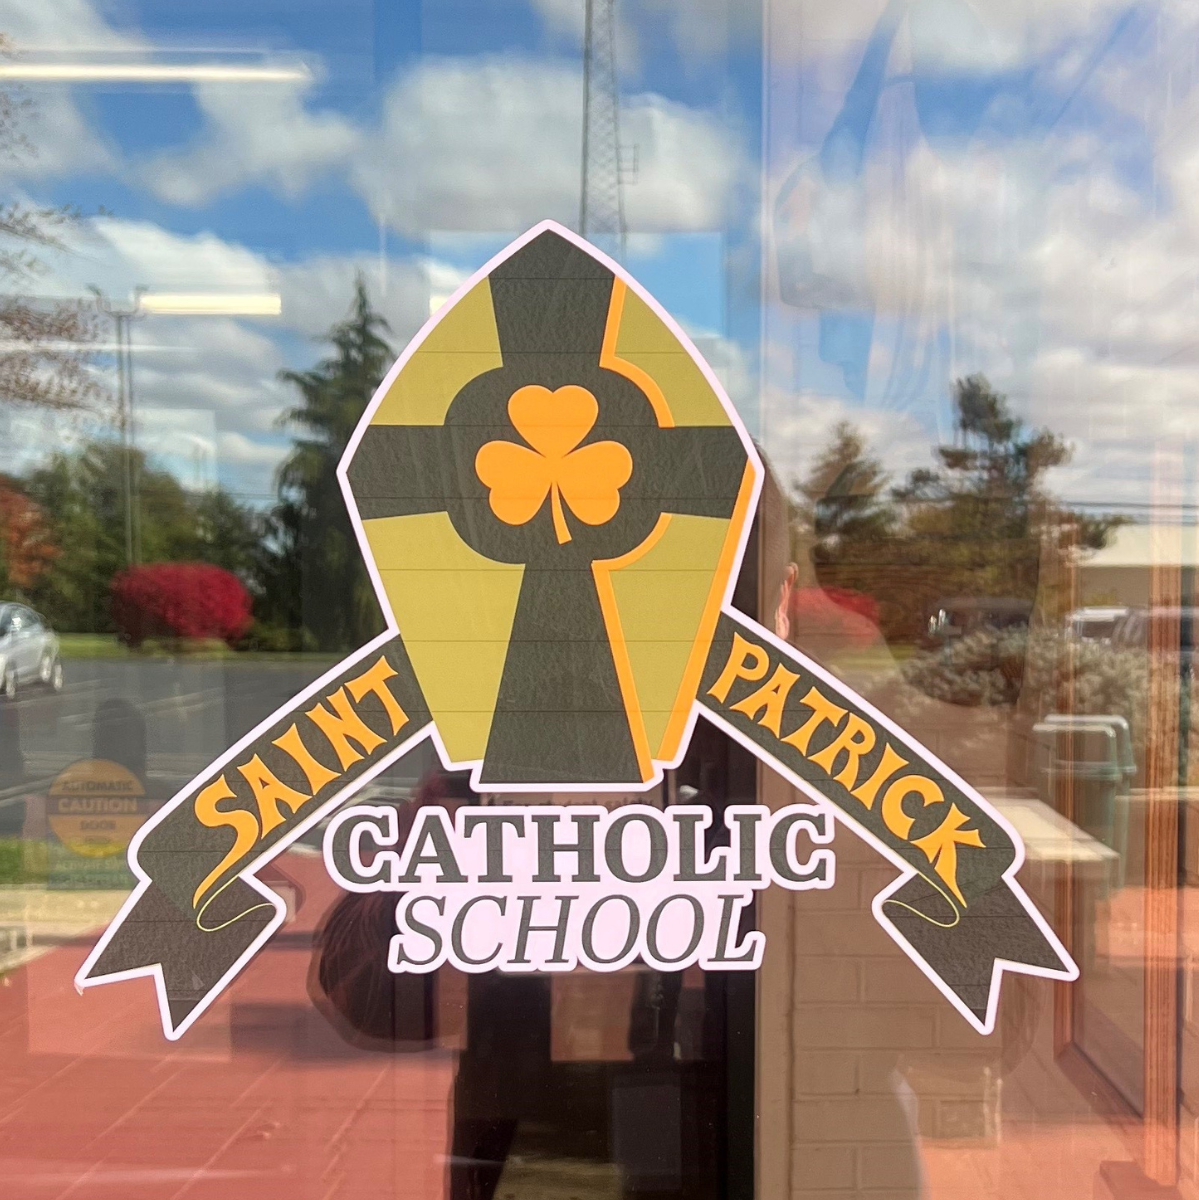
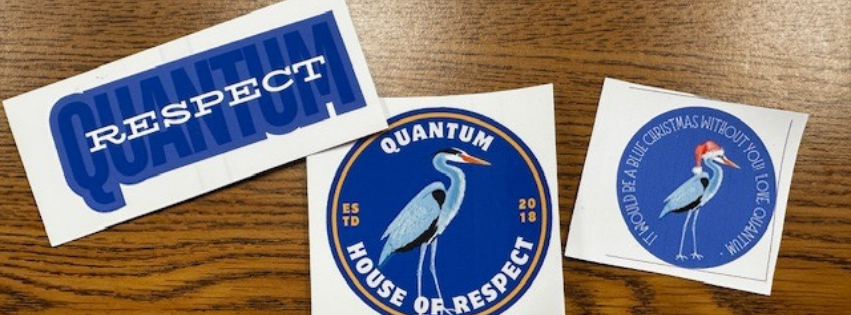
- Stickers for school spirit or club branding
- Labels for classroom organization or storage
- Custom decals for laptops, water bottles, or lockers
- Rewards for your PBIS or SEL program
- Art projects or student-run store products
Because the printer handles full-color designs beautifully, your stickers will look professional and last far longer than standard printed labels.
What You’ll Need
You don’t need much to get started – just a few tools and materials you may already have:
- Poster printer (like the Educator Plus)
- Adhesive Backed Vinyl (permanent or repositionable)
- Scissors or a vinyl cutter (like the Cut Out Studio)
- Design software (Canva, PosterArtist, or similar)
That’s it! Everything else depends on how you choose to cut out your stickers.
How to Make Stickers with a Poster Printer
The process is simple – you’re really just designing, printing, and cutting. Here’s how it works.
1. Design Your Stickers
Start with a fun idea or logo. You can design in any program you’re comfortable with – Canva, PosterArtist, or Adobe Illustrator all work great.
Keep in mind:
- Use bright, high-contrast colors that print well.
- Leave a small border or “bleed” around your designs if you plan to cut them out with scissors.
- If you’re using a vinyl cutter, include a thin outline or contour path around each sticker shape.
You can fit multiple designs on one page to save material.
2. Print on Adhesive Vinyl
Load your adhesive vinyl into the poster printer and print your designs.
A few quick tips:
- If you’re using a vinyl cutter for this project, use a print-and-cut software for this step.
- Choose the media profile that matches your vinyl type.
- Make sure your print settings are set to “actual size” (no scaling).
Once printed, you’ll have a sheet of colorful, durable sticker material ready to cut.
3. Cut Out Your Stickers
Here’s where you have two options:
Option 1: Cut by Hand
Don’t have a vinyl cutter? No problem.
You can still print your stickers on adhesive vinyl and cut them out with scissors or a craft trimmer. It’s a simple, low-tech way to start experimenting – especially for small runs or classroom projects.
Option 2: Use a Vinyl Cutter
If you have a vinyl cutter like the Cut Out Studio, this step gets even easier.
Load the printed sticker sheet into your vinyl cutter, making sure to properly align the registration marks and set the cutting pressure.
The vinyl cutter will help you get smooth, consistent shapes with minimal effort – perfect for larger batches or when students are producing designs for sale or fundraising.
How the Cut Out Studio works
Check out the quick demo below to see the process in action – from design to print to perfectly cut stickers.
Creative Uses for Your Stickers
Once you’ve got the hang of sticker making, the possibilities are endless. Here are a few school-friendly ideas to get started:
- PBIS Stores: Let students spend points on personalized or themed stickers.
- Fundraisers: Sell school logo stickers, club emblems, or art designs.
- Student Recognition: Create “Caught Being Kind” or achievement badges.
- Art Projects: Have students design and trade their own sticker packs.
- Entrepreneurship Programs: Launch a student-run sticker shop as part of a business education or CTE course.
- Decorating: Label classroom supplies, laptops, or water bottles.
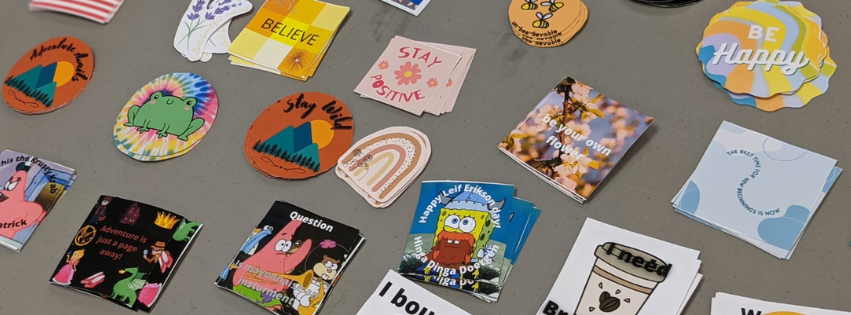
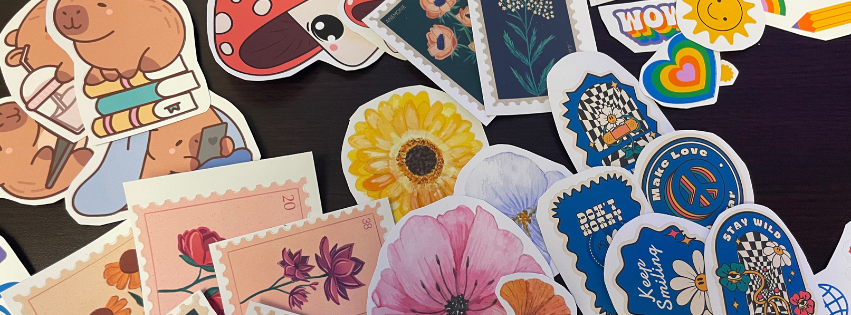
Stickers are inexpensive to produce but high in impact – and they’re a great way to bring students’ digital designs to life.
Tips for Success
- Test print a small batch before committing to a full sheet.
- Keep blades sharp if you’re using a vinyl cutter for clean edges.
- Test the cutting pressure on your cutter before you start.
- Encourage students to prototype digitally before printing.
- If you’re going to laminate your stickers, laminate them before cutting.
FAQ: Common Questions About Making Stickers with a Poster Printer
Yes! If your printer can handle adhesive backed vinyl, you can print stickers right away. You’ll just need to cut them out manually or with a vinyl cutter.
Adhesive backed vinyl. It’s durable, colorful, and sticks cleanly to most smooth surfaces. You can choose between permanent or removable varieties depending on your project.
No – it’s optional. A vinyl cutter like the Cut Out Studio makes the process faster and more precise, but scissors work just fine for small projects.
Absolutely. This is a great project for graphic design, business, or art classes. It helps students combine digital creativity with hands-on production.
Yes, adhesive backed vinyl is made for durability. For classroom or indoor use, it holds up beautifully, even without extra coatings or laminates.
Not if you’re using the Educator Plus Poster Printer! Because it prints with pigment-based ink, your stickers will be naturally water- and fade-resistant – no extra lamination required. If you’re using a dye-based printer, though, you may want to laminate your stickers to protect them from moisture.
Want to Get More Out of Your Poster Printer?
If you’re looking for even more classroom-friendly projects, check out EmpowR Academy – our new professional development and support program for educators.
From banners and decals to t-shirt transfers and classroom signage, EmpowR Academy goes beyond basic how-tos. It’s packed with real school projects and ideas that show how to use your technology for bigger initiatives – like supporting PBIS and SEL programs, launching student-run fundraisers, and integrating hands-on learning into art, business, and STEM classrooms.
Whether you’re just getting started or looking for your next big project, EmpowR makes it easy to find fresh ideas, download ready-to-use templates, and see how other educators are making an impact with their equipment.
Try It, Share It, and Keep Creating
Making stickers is an easy way to get students excited about design, creativity, and hands-on learning. Whether you’re cutting by hand or using the Cut Out Studio, you’ll be amazed at what your poster printer can do.
Ready to try it? Grab a roll of Adhesive Backed Vinyl, fire up your printer, and let your students’ ideas stick – literally.